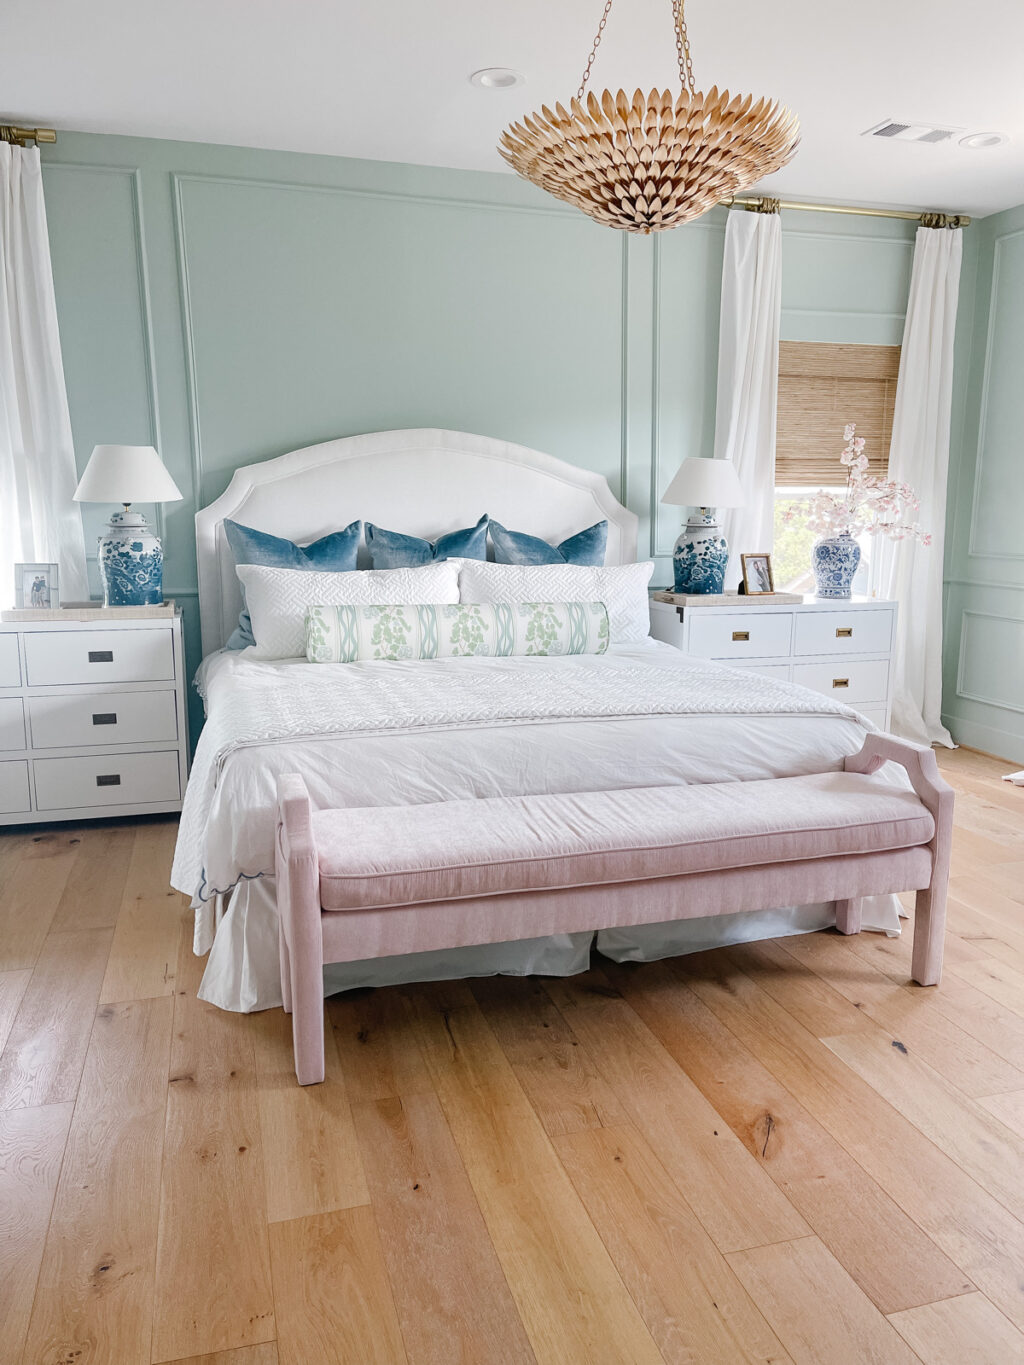
I always knew we’d eventually paint our primary bedroom a color – though I love white walls in open main living spaces, it feels special to put some color (or wallpaper!) on the walls of bedrooms, bathrooms, offices, etc.
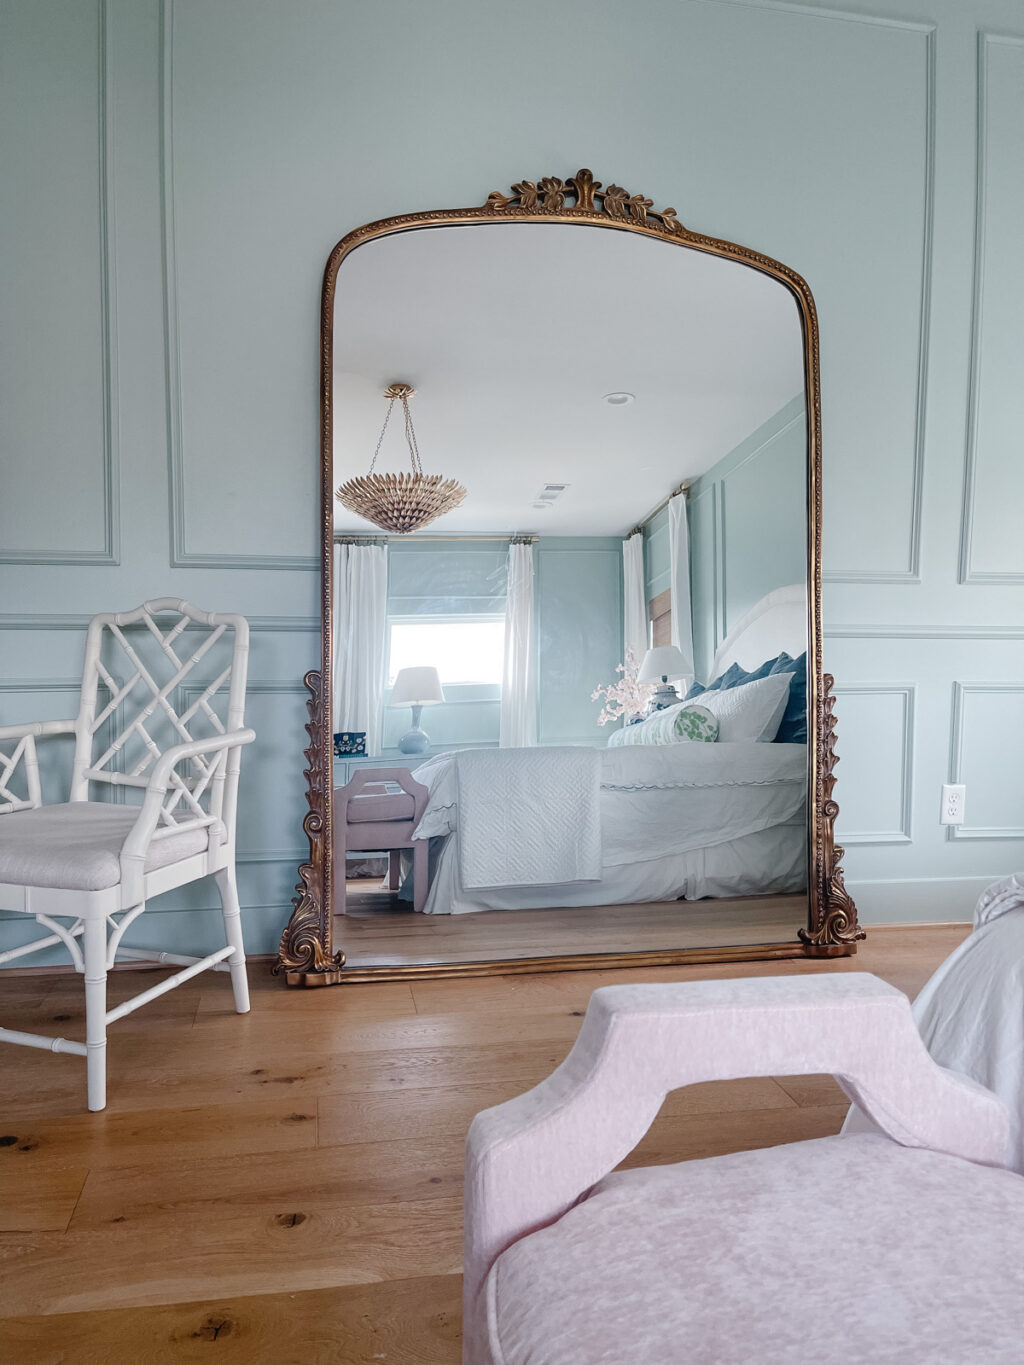
When I saw Alisa’s bedroom reveal, I knew I wanted to add trim work to give our space a little more interest and character. I was in luck – I had a friend who recently hired an amazing painter for a project of hers and my best friend Candice also used the same painter/carpenter team to add moldings and paint her home.
Here’s a breakdown of the entire project Q & A style:
WHO DID YOU USE IN HOUSTON FOR THIS PROJECT?
We used Guillermo from Painting Solutions Houston – their team did a wonderful job! They’re incredibly responsive, provide thorough outlines and quotes for the work you’re having done and are very clean and meticulous – they laid down paper all over the areas of our home they walked through and where they worked to protect our floors.
WHAT WAS THE COST OF THIS PROJECT?
The total cost was $2040, which felt extremely reasonable. That included:
- Cost of labor for painting
- Cost of labor for trim working/molding & caulking
- Cost of paint
- Cost of wood trim
We also had our water closet in our primary bathroom painted at this time, so that was also included in the total cost.
WHAT COLOR AND FINISH IS THE PAINT?
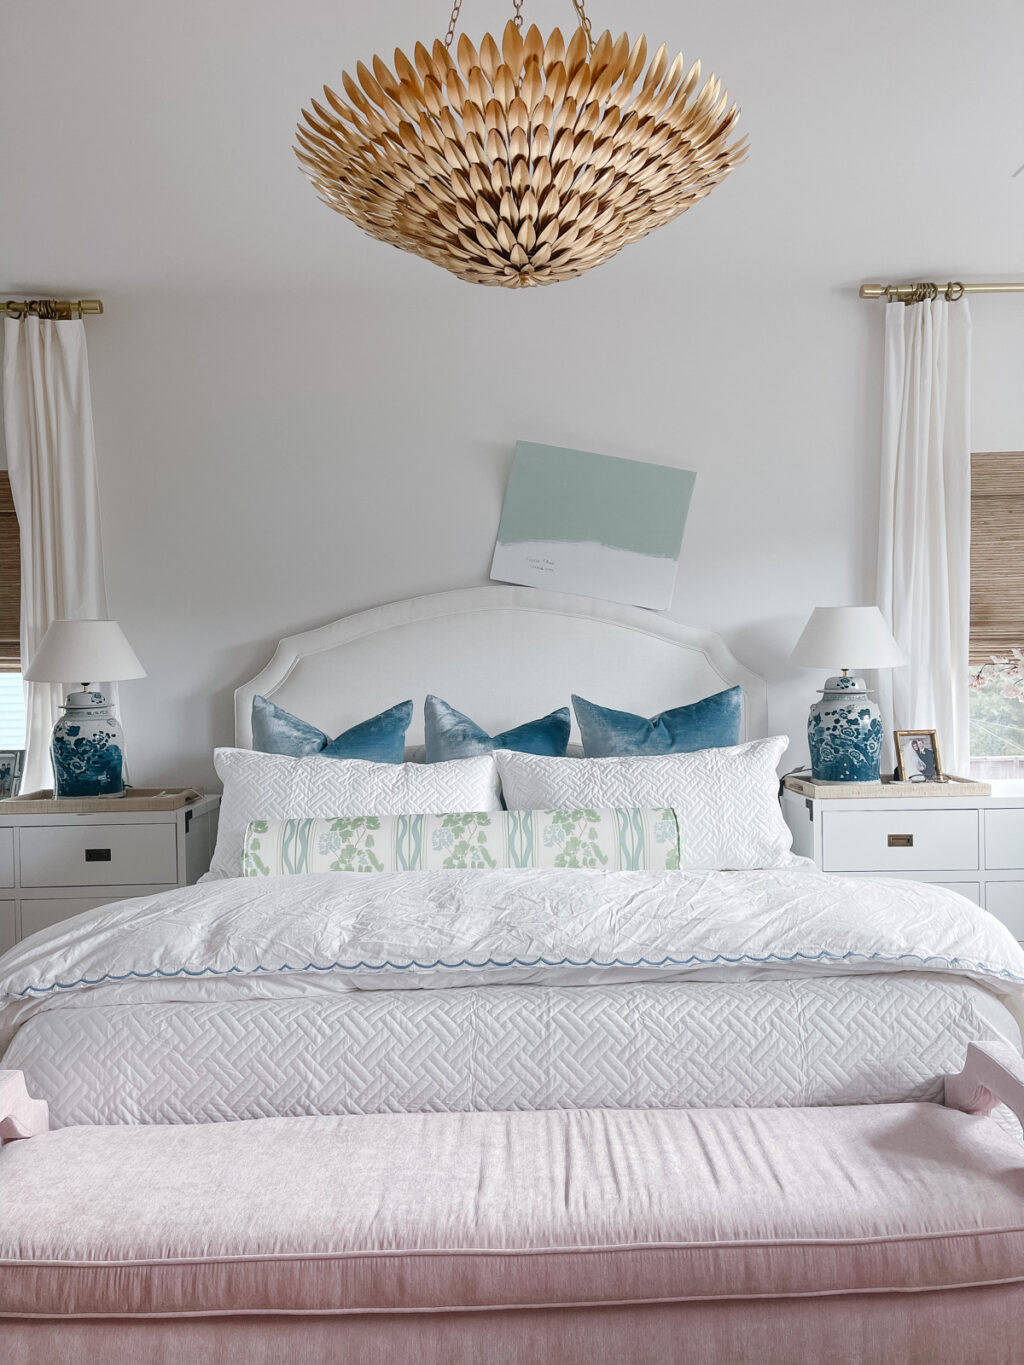
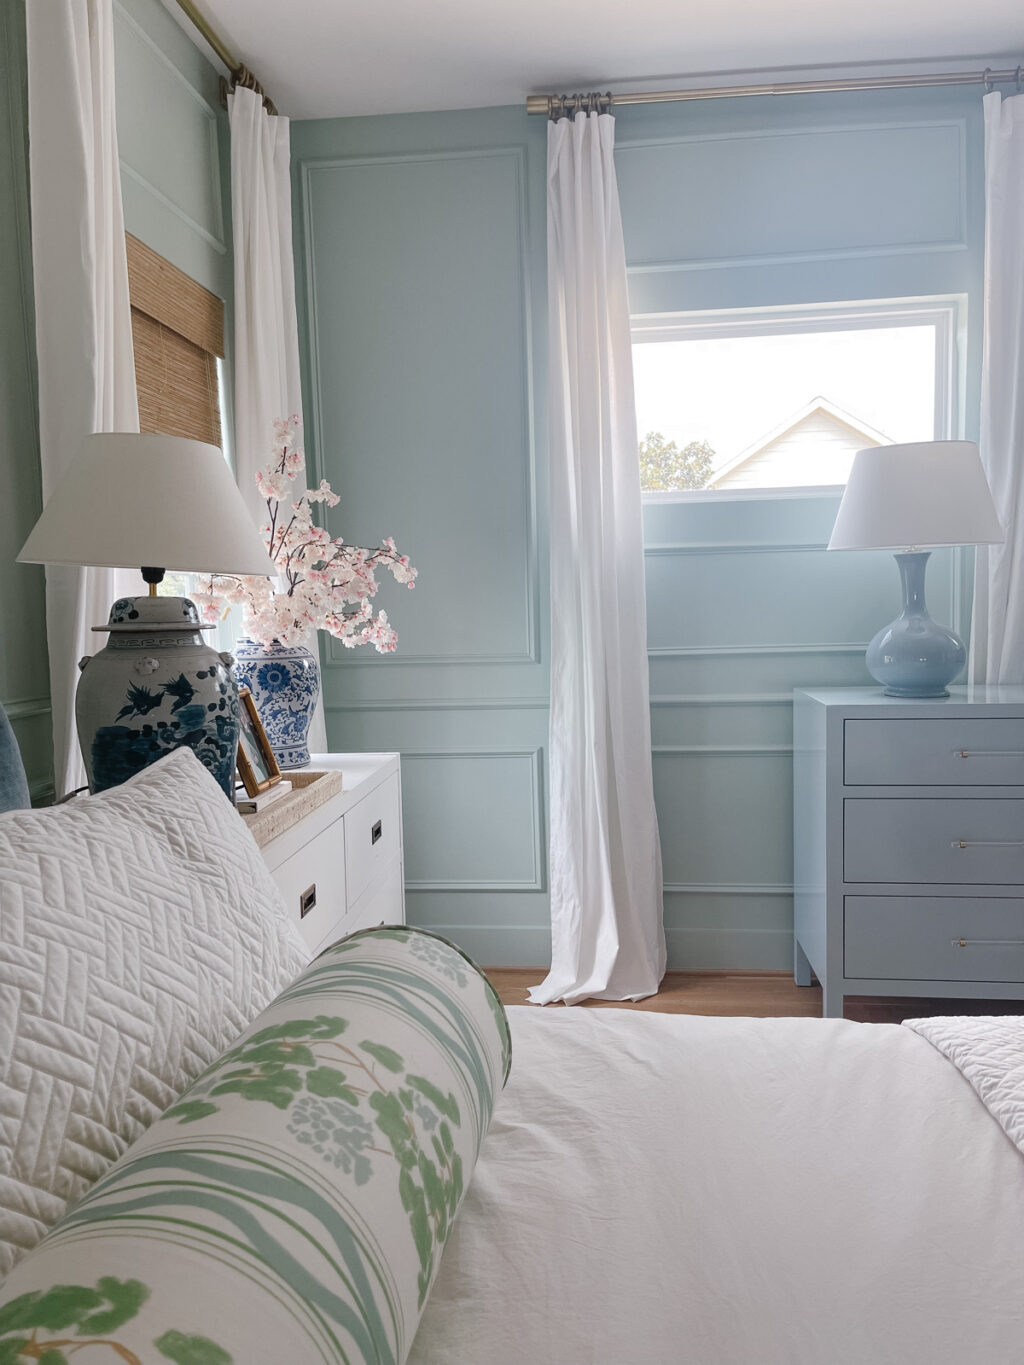
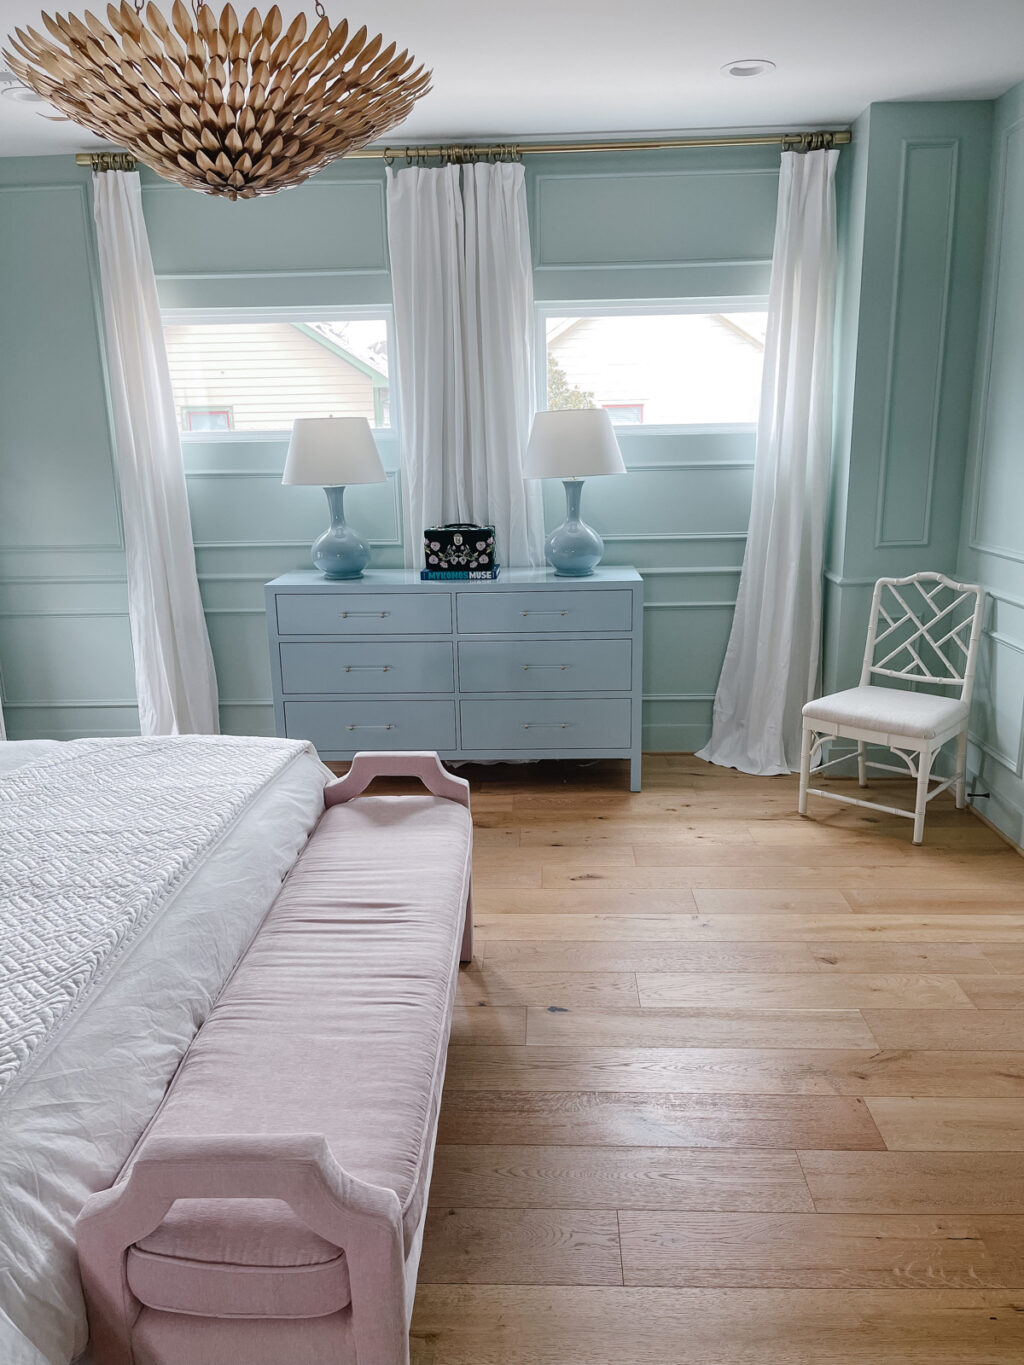
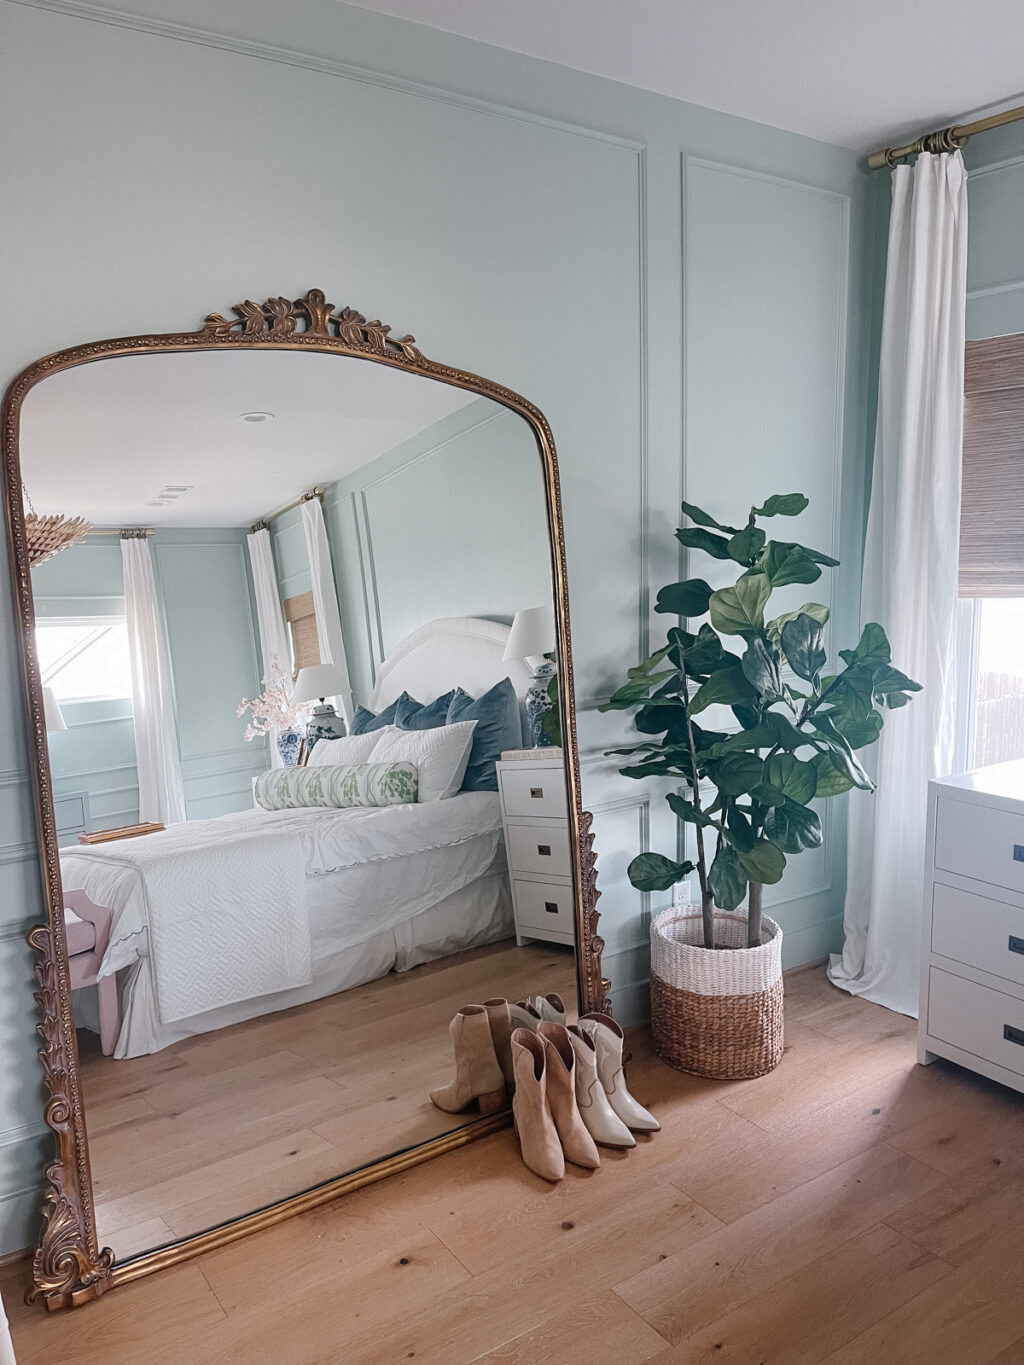
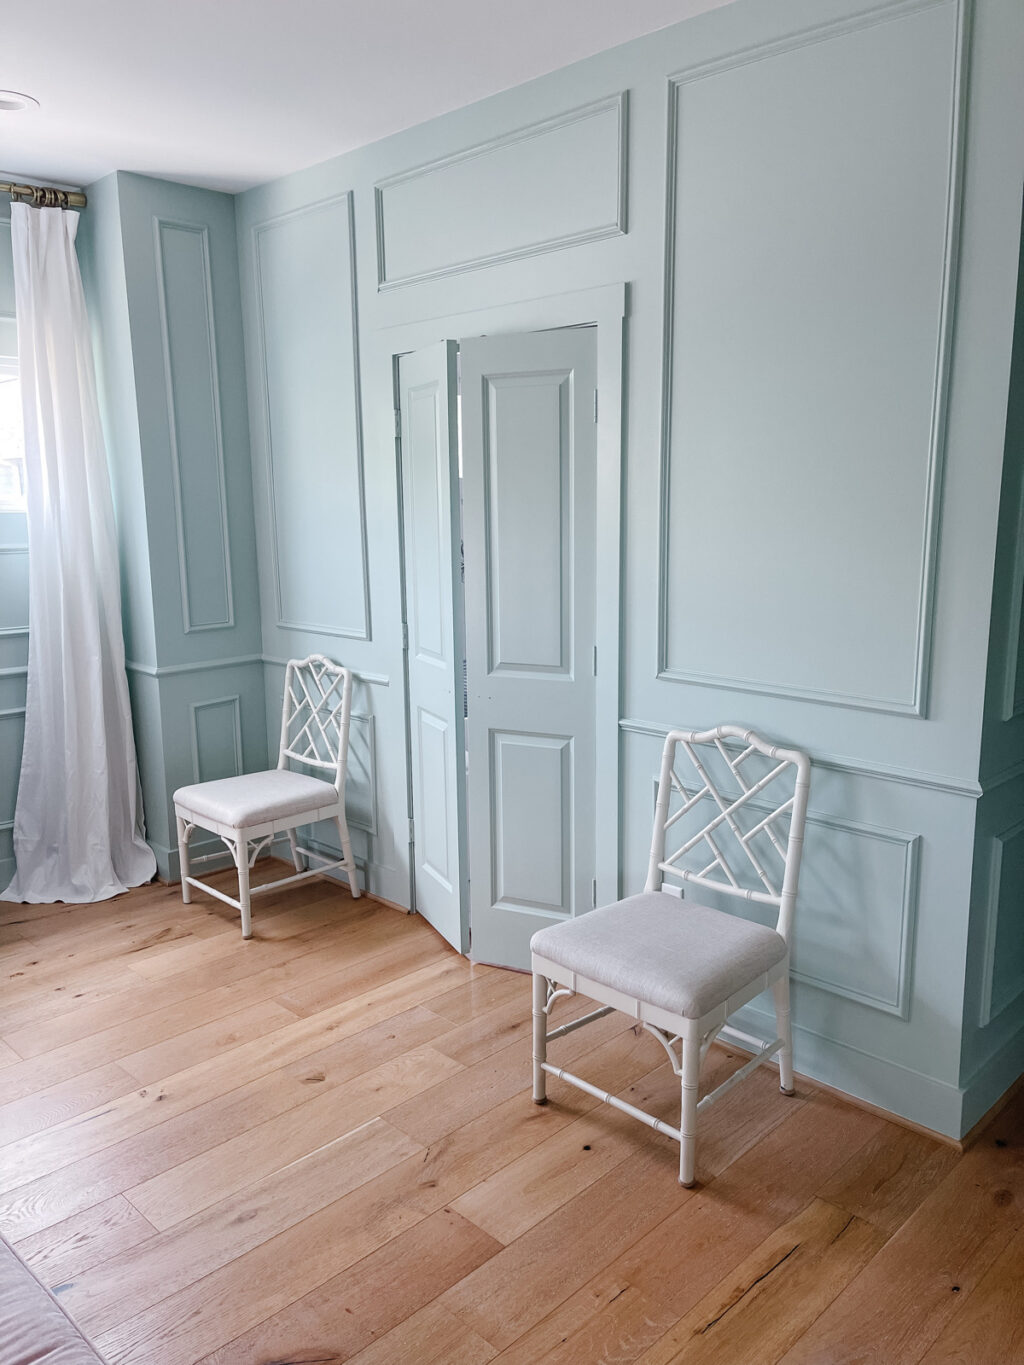
The color is Farrow & Ball’s Teresa’s Green. We had it color matched at Sherwin Williams, because F&B only makes water based paint and I didn’t want to have to pay for the labor and mess of sanding and stripping the existing doors and trim (which have an oil based paint on them, per our builder).
The painter’s used one of Sherwin William’s Emerald formulas in a Satin finish on the walls and trim. The paint is very durable and wipeable! I like that the trim and walls all had the same finish on them so it was uniform.
Regarding color matching paint, because I get lots of questions about this: you don’t have to buy a sample to get a color match made. All paint stores have other brand’s color formulas on file in their computer systems and anyone can get a sample of any brands’s color.
In my case, for this project, I purchased a sample can of the actual Farrow & Ball color from Benjamin Moore and painted it onto a poster board to determine if it was the color I wanted to move forward with. When I made the decision, I went to Sherwin Williams and had a color match made there to paint on another poster board so I could compare the colors and make sure they were nearly identical (I don’t recommend color matching whites, by the way – colors only).
In the end, it turned out that the final paint job looked more like the original F&B sample I painted on the poster board than the Sherwin Williams sample – even though Sherwin mixed both color matches – go figure! I’m thrilled with the color – it’s soft, soothing, calming and beautiful.
ARE YOUR WALLS TEXTURED?
No, we paid extra to have them smooth while the house was under construction. Textured walls (some heavily textured) are the norm/common in Texas, but they’re not for me!
HOW DID YOU PLAN THE WALL MOLDING & TRIM?
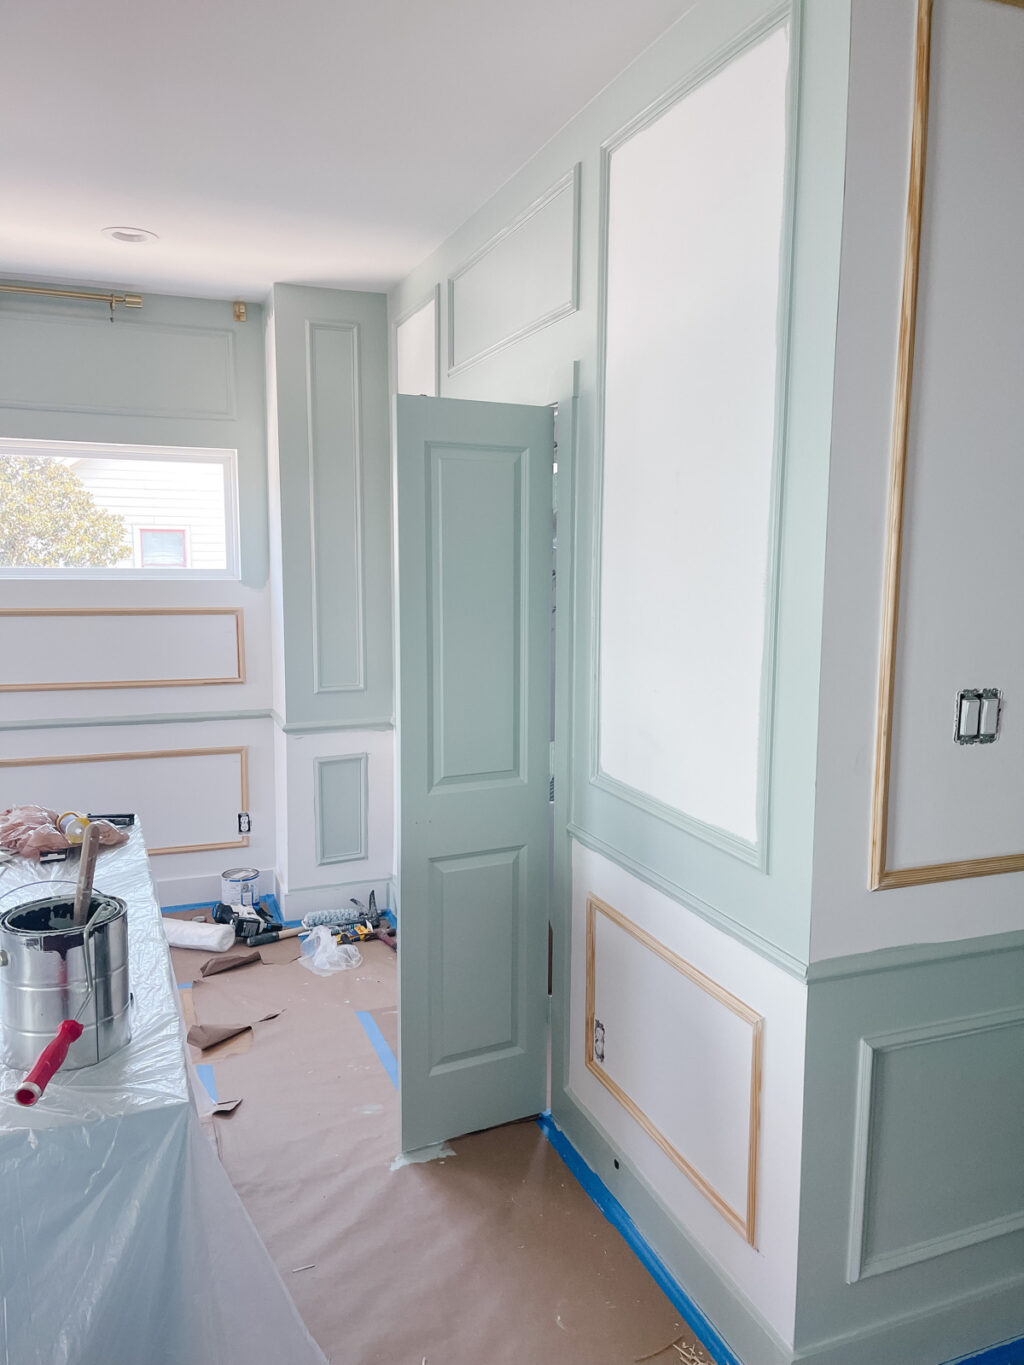
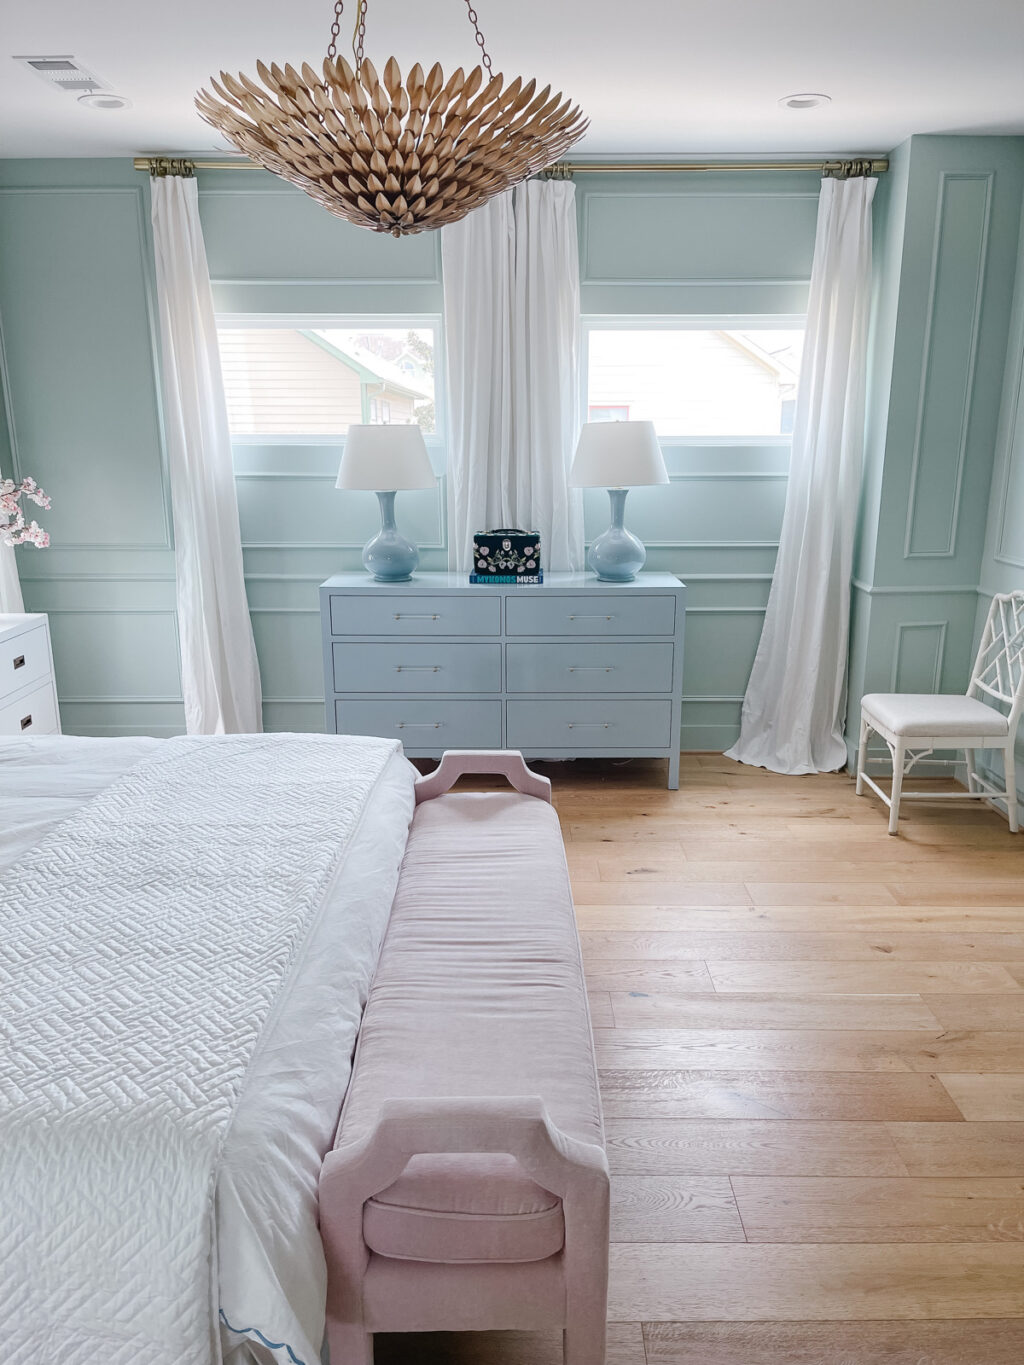
I sent photos from Alisa’s bedroom to my painter and told him I wanted a similar vibe and he shared those with the trim carpenter. Then, when they came to our home, I met with them to discuss how I wanted the trim to look and we discussed the various walls that were more challenging like the wall with the two narrow windows. I got to be part of the process and they called me upstairs any time they wanted my input or had a suggestion. It was very collaborative, but I also leaned on their expertise to figure out the best solutions for the space!
HOW LONG DID IT TAKE?
The project took about 3.5 days. The first two days were primarily focused on cutting and applying the trim work (and caulk!) and then the room was painted (all doors, trim and walls). The last day of the project there was a painter here for just a couple of hours finishing thing up and touching up any areas that needed it.
WHY DIDN’T YOU PAINT THE CEILING, TOO?
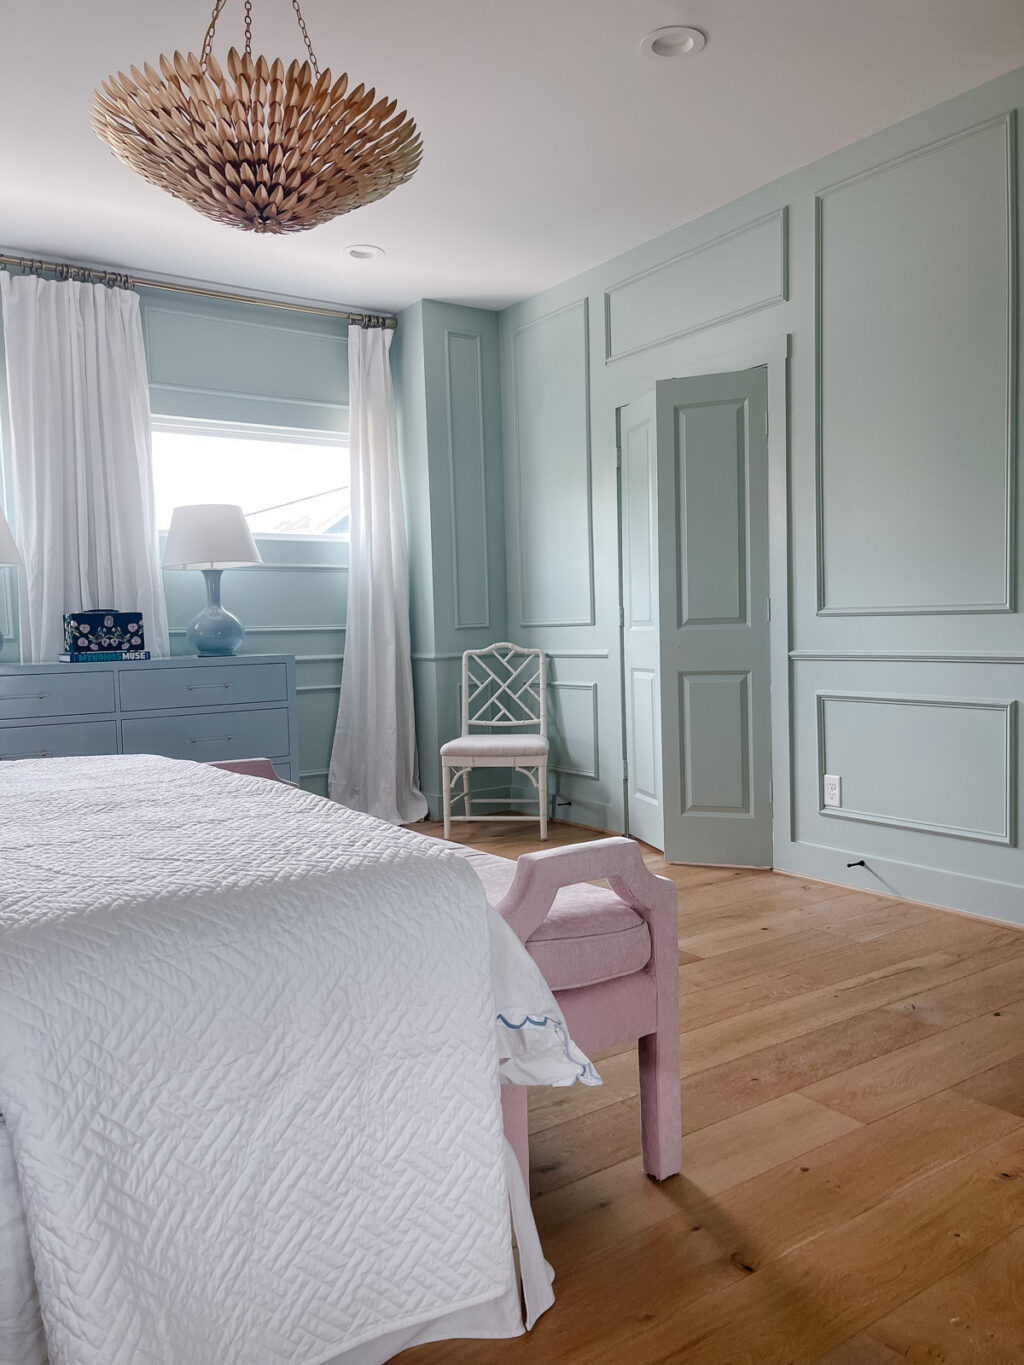
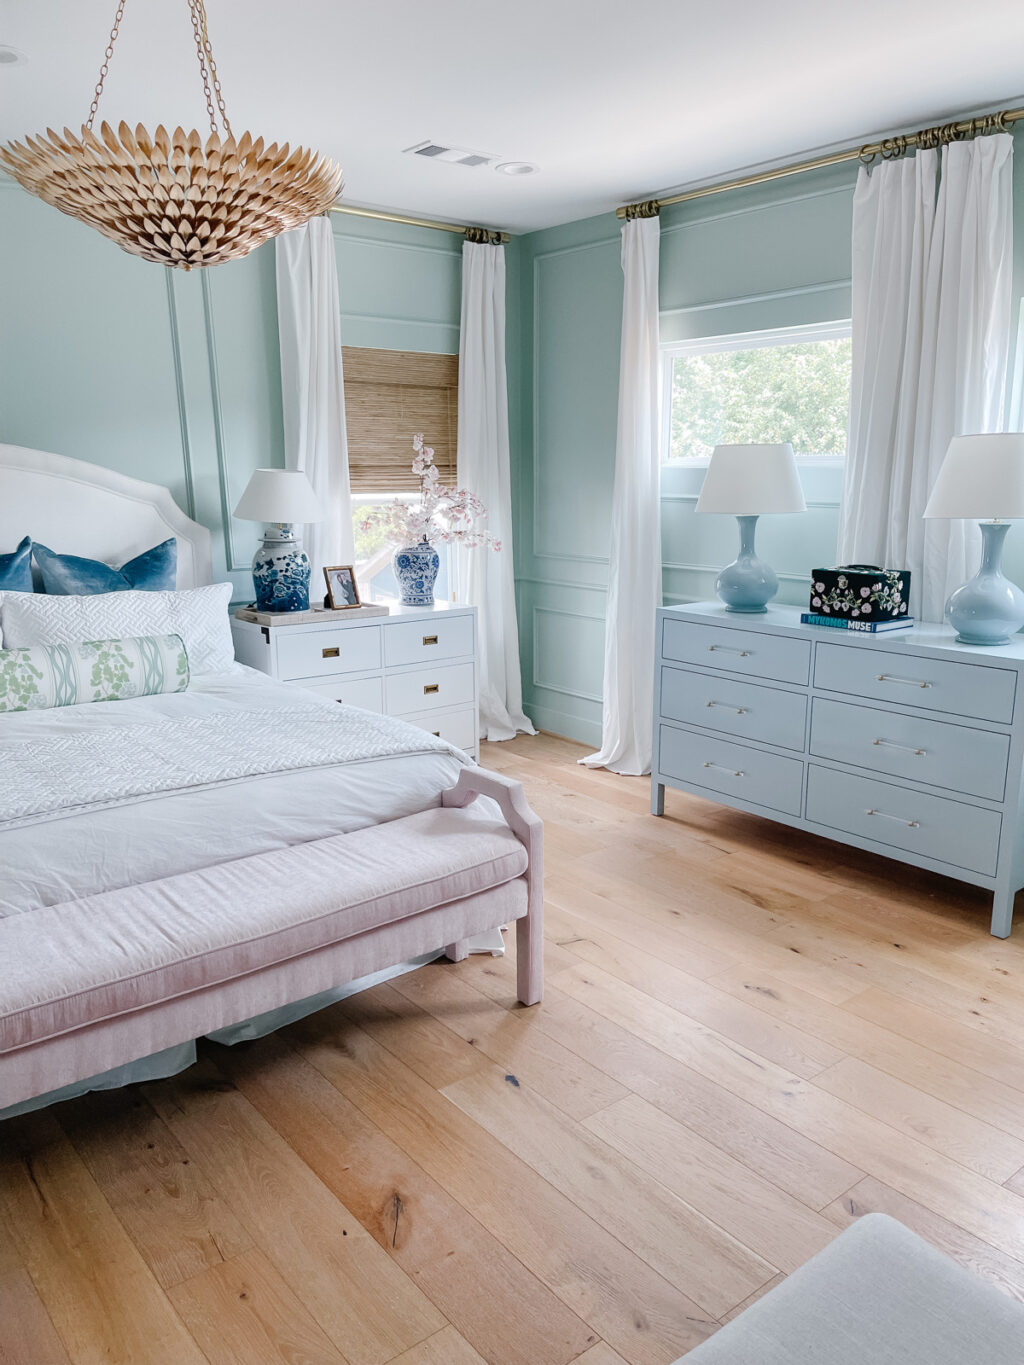
I really debated this. Ultimately, I felt the can lights and vents in the ceiling would stand out too much if we painted the ceiling as well. We did have the ceiling painted in our son’s room and though I love it, the vent and lights stand out a lot and it does annoy me a bit. Having said that, I think it would have looked lovely painted too – but ultimately, for resale, I think it’s better not to paint the ceiling.
Word to the wise: if you have the option, do not add can lights to any rooms but kitchens and bathrooms. You don’t need them and rooms look much warmer and cozier with an ambient lighting plan that includes a ceiling fixture, lamps and sconces. I’d never do can lights again in the future (outside of kitchens and bathrooms).
ARE YOU ADDING CROWN MOLDING?
We don’t have crown anywhere else in our home, so as much as I adore it, I didn’t want add it to just one room since we wouldn’t add it anywhere else. We won’t live in this house long enough to justify adding crown everywhere. Some part of me thinks I should have done it during construction and just paid extra to have it done then, but I also don’t dislike it without crown.
ARE YOU GOING TO CHANGE THE FURNITURE?
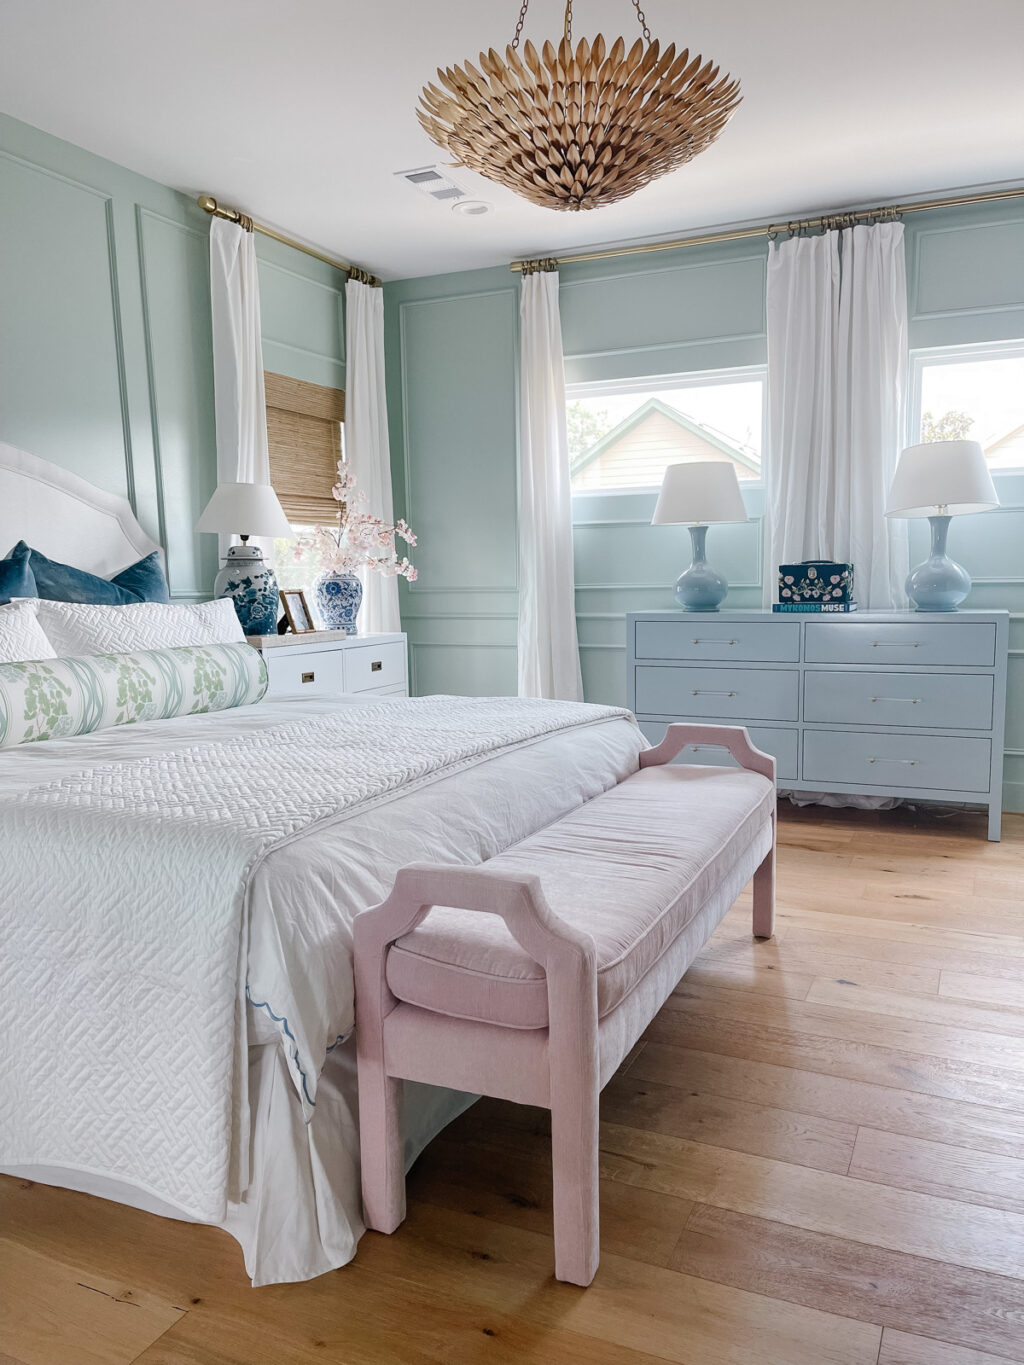
No! We will be adding a custom Turkish oushak rug to the space and I may get new nightstands (I already have them picked out!) but I love all of our existing furniture in this space. I specifically picked a soft green paint color with blue undertones so that it would complement our bed, nightstands, bench and our Oyster Creek Collection dresser (which was custom lacquered in Alice White by Behr).
WHERE CAN I FIND YOUR BEDROOM SOURCES?
You can shop our bedroom via this post or on my LTK page.
Thank you for all of the incredible comments and outpouring of design love for this space! It has been a joy to see this space evolve and I feel so happy every time I walk into this room!
Have a great week!
[…] Th pattern is reminiscent of Sister Parrish’s “dolly” print (which I love!) and perfectly complements our newly painted walls! […]