Last weekend, I finally took on the task of cleaning out and organizing our pantry, which admittedly became a catchall after our November move. Out of sight, out of mind, right? Though I’m thankful I was able to keep the mess behind closed doors for months, it also felt like time to give the pantry the de-clutter and focus it deserved.
It can seem like an overwhelming task – but it took less than an hour and the end result was SO worth it! Here’s how I got it done and my best tips to get your pantry working for you, not against. Check out the end of this post for all of my favorite pantry organizing products!
First, let’s take a look at what I started with…ooof!
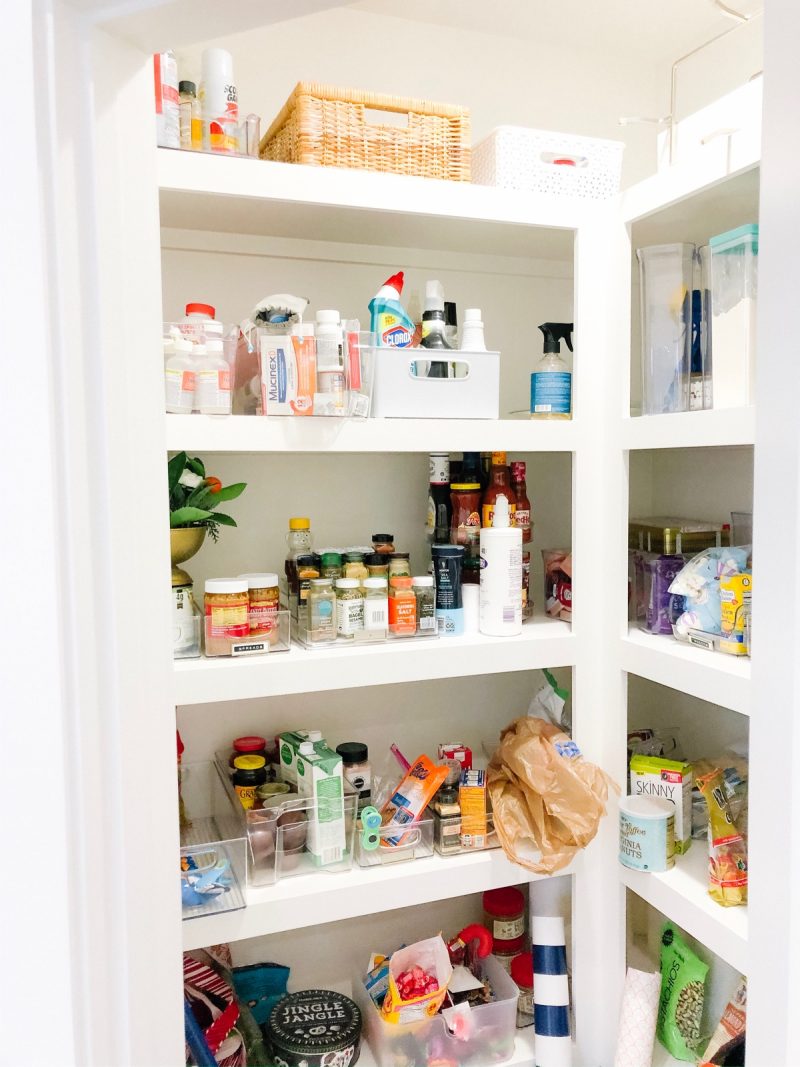
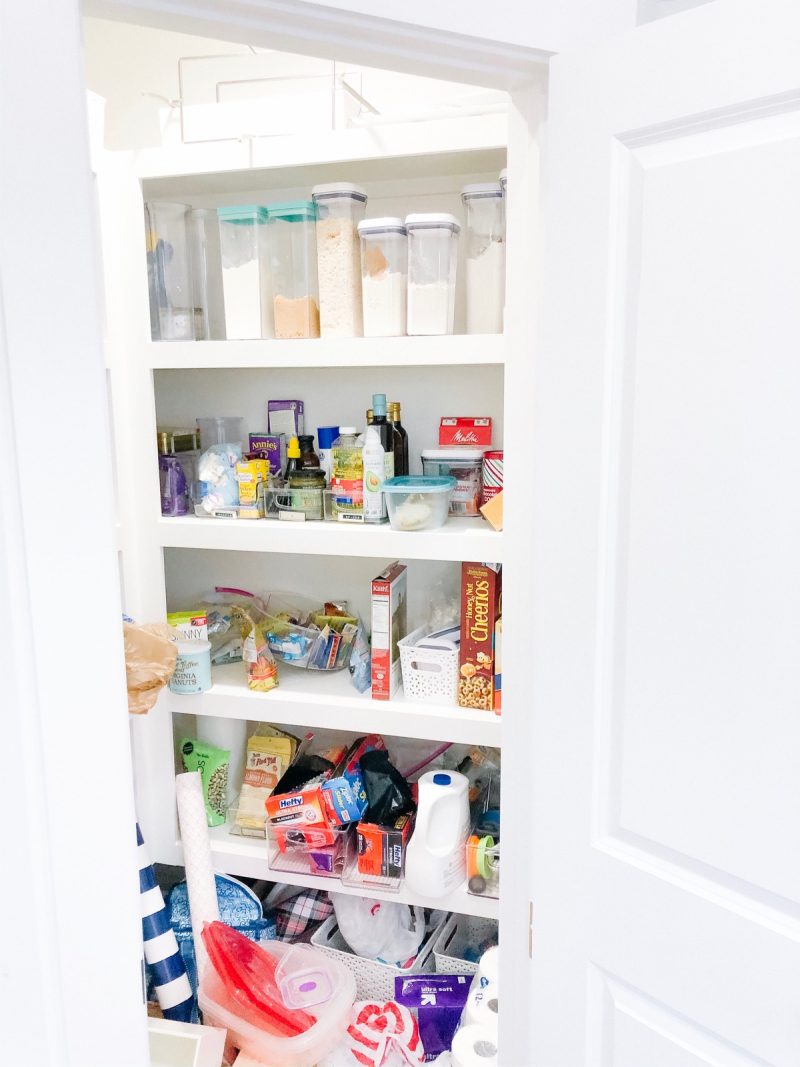
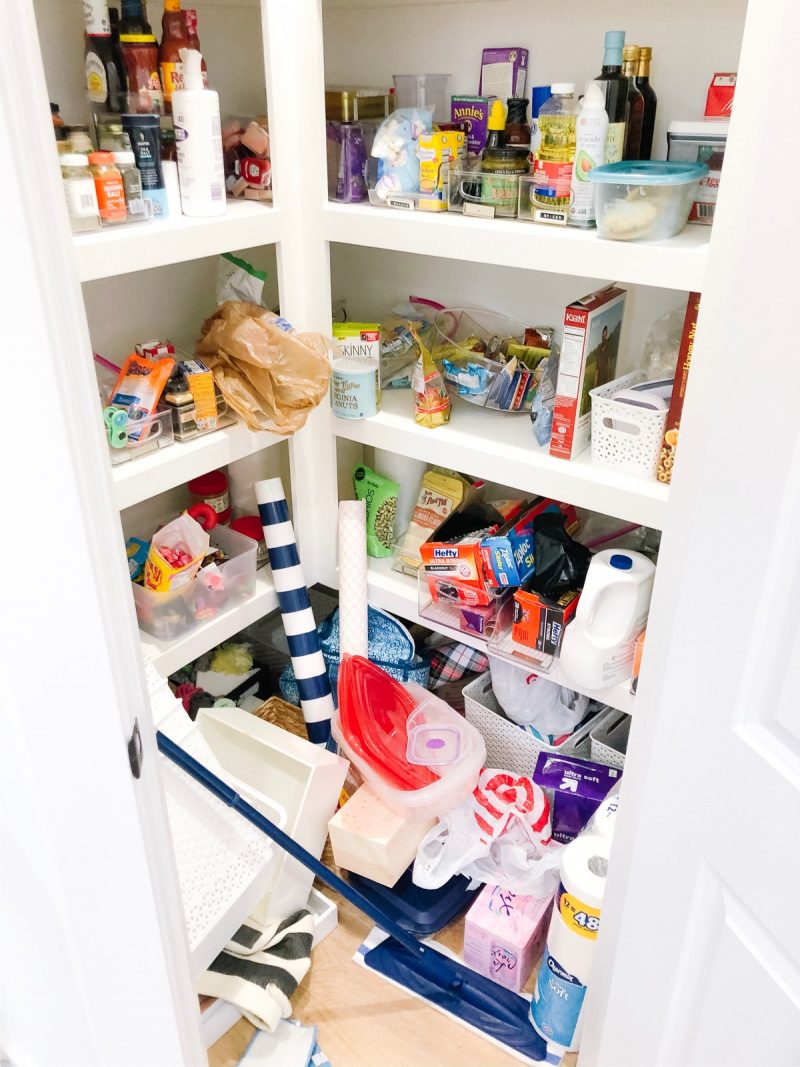
Here are the steps I took to organize my pantry:
Remove expired food and half-eaten/stale items
I always feel so guilty when I realize we haven’t used/eaten something and it has expired, but it has also changed our approach to shopping. We never buy anything in bulk anymore (like sauces, flour, etc.) because we know we won’t use it. If I need something specific to bake, let’s say, banana bread, I will buy it the week I need it. Once you’ve removed whatever is expired or stale, the real organizing can begin!
Take everything out
I have to admit, I didn’t take my own advice when I did our pantry – but I took about 70% of it out. I only left the things that were already organized like our spices and some of our clear containers with non-expired sauces/canned food. When you take out the clutter, you can better plan what fits best into the spaces you have to work with.
Organize by category and then choose containers
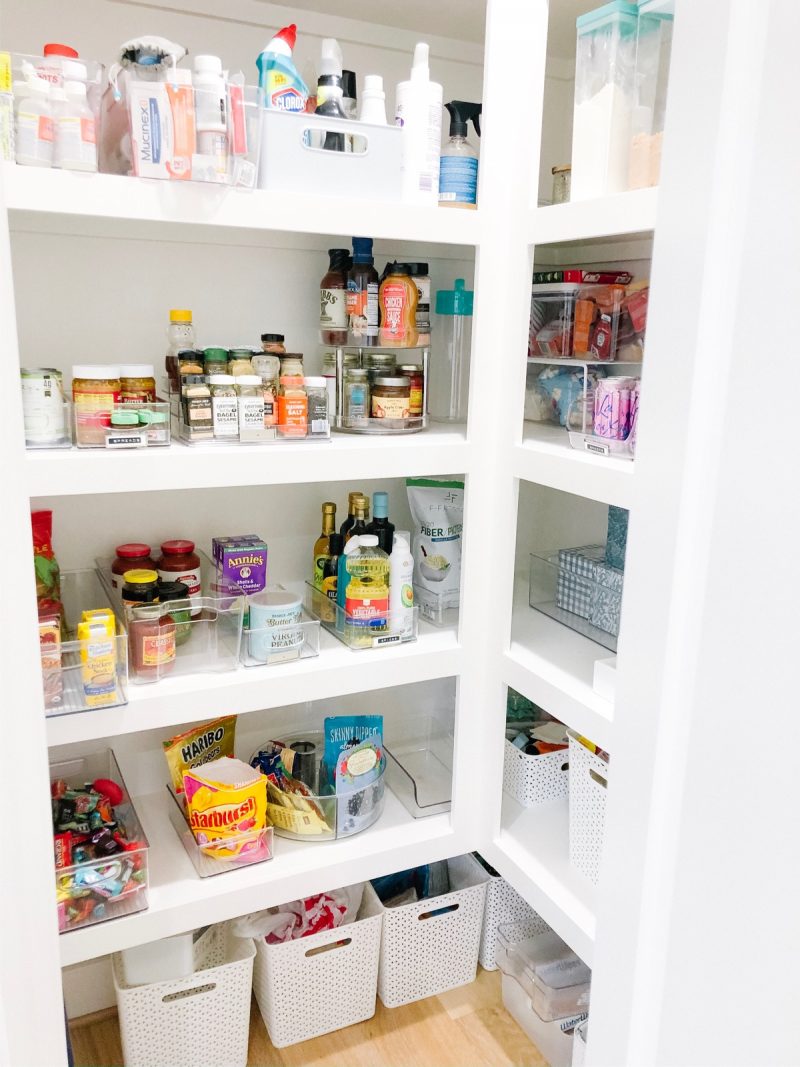
It’s important to see how much you have of what, so you can correctly allocate containers for each category and choose the right type of container. For sauces and bottles, I like to use a lazy susan. For things like popcorn or boxes of mac & cheese, I like to use rectangular acrylic or plastic containers. I also love using lazy susans for granola/RX bars and put them on the lower shelves so the kids can reach them.
To decant or not?
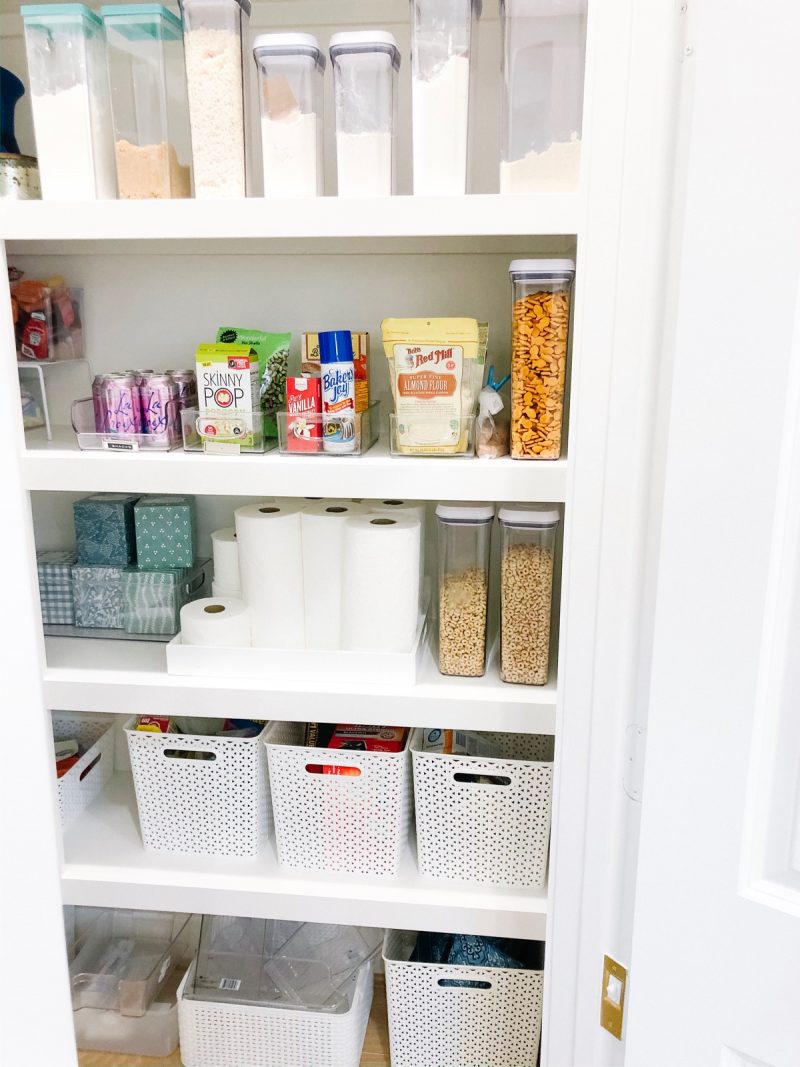
I’m a huge fan of decanting things like cereal, flour, crackers, sugar and other baking supplies. It looks better, stays fresh and is easier to access. For loose items like sugar and flour, I always cut the expiry date off of the bag the item came in and put it into the airtight container, so there is no question how long the item is good for.
Random things
Our pantry doesn’t just store canned goods and packaged foods – we also use it to store things like plastic bags, ziplock bags, our large trash bags, reusable insulated bags/carriers, etc. I use these larger woven plastic bins to store all of those items on the bottom shelf and floor of our pantry. This keeps everything looking uniform and tucked away, but also easy-to-access.
Store items by usage
I have some trays/dishes we only use for entertaining, so those are stored on the very top shelf of the pantry since they aren’t used often. I also have cleaning supplies and medications stored on one of the top shelves so the kids can’t reach them. Make your pantry work for YOU and put the most-used items on the easiest to reach shelves.
Here’s the “after!” so happy to have this space a little more functional and aesthetically more pleasing, Scroll down to shop my pantry favorites!
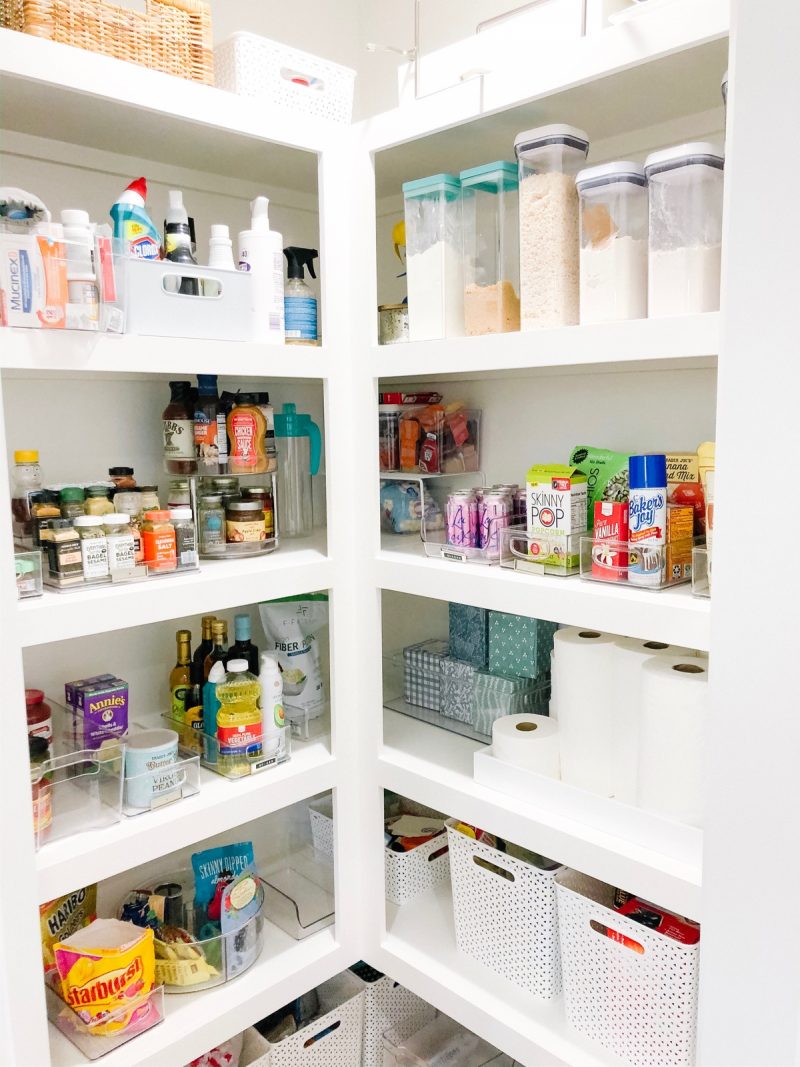
SHOP MY FAVORITE PANTRY ORGANIZATION ITEMS:
6-piece clear organizers | divided lazy susan | 2-tier lazy susan | stackable clear bins | hyacinth bins (other styles here and here) | deep clear storage bin | deep clear kitchen storage container | plastic pantry boxes | airtight food storage containers (we have these ones) | wire storage bin | white plastic weave bin | spice rack/etagere


Wow, quite a difference to before. I always want to do it and sometimes take a stab at it but I think I fail to properly do step no 2 Take everything out! This for me I believe is the most imporant one. Only on a green field you can build new!