I re-organized and reconfigured my makeup drawers last night and wanted to share some tips for getting the most functionality out of yours!
Before I get started, I want to note that this is NOT a Pinterest-worthy way to organize your makeup. Most of the time when makeup drawers are shot for Instagram and organizing books, they’re super pared down and even color-coordinated (ie: not reality). I did pare down some infrequently used items when I organized this drawer, but as you can see, most of my products are still there. I don’t like having a lot of clutter on my counters, so for me, a makeup drawer is ideal because it hides everything away. There are pretty acrylic makeup drawer organizers that are meant to be set out on your bathroom counter, so that’s an option if you don’t have a lot of drawer space or prefer to have your products visible.
Here’s what I started with, including a broken makeup brush container:
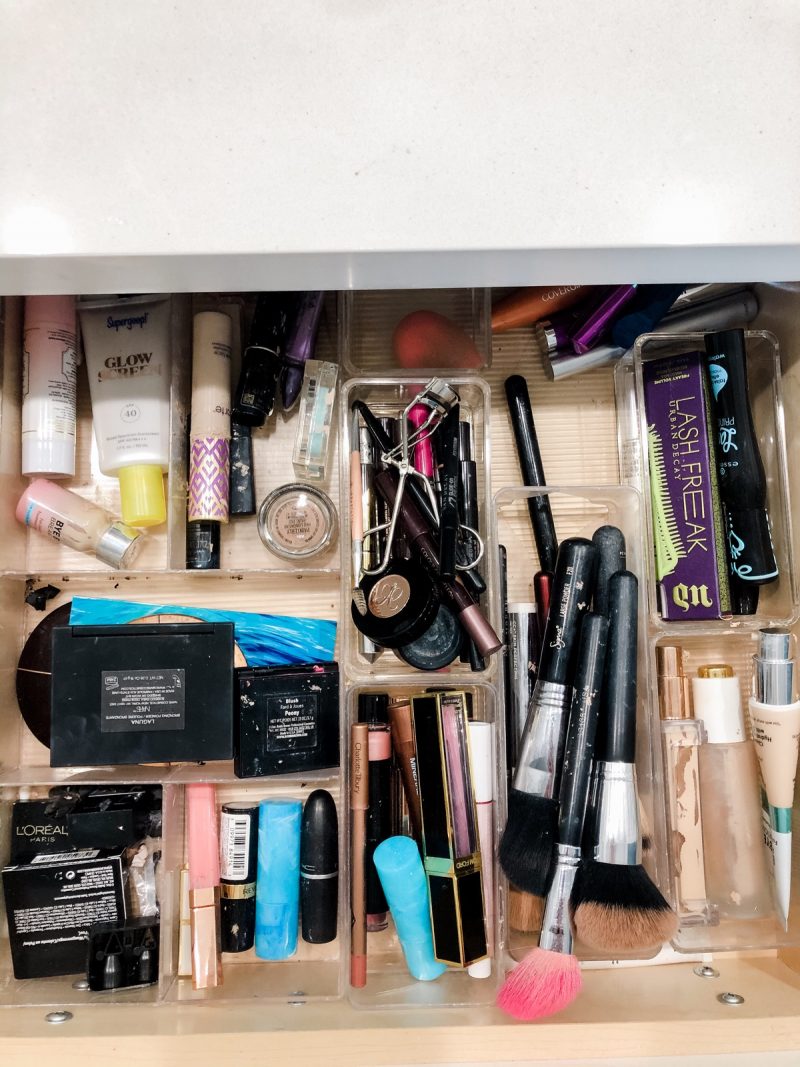
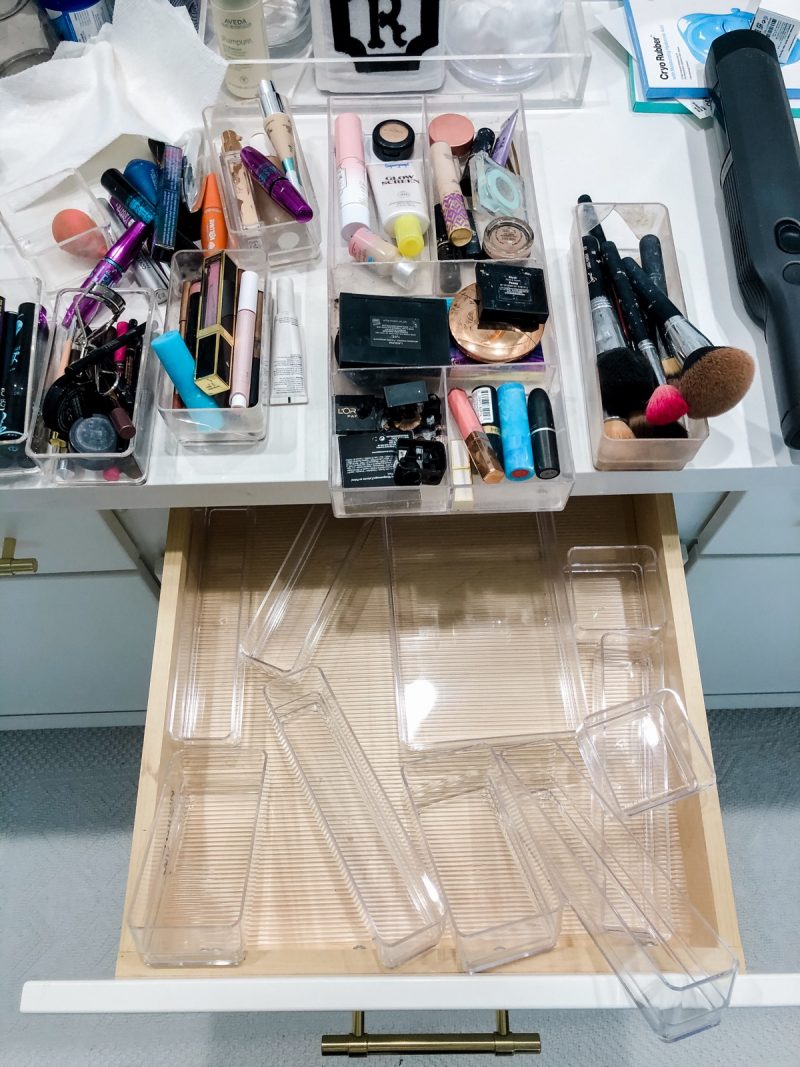
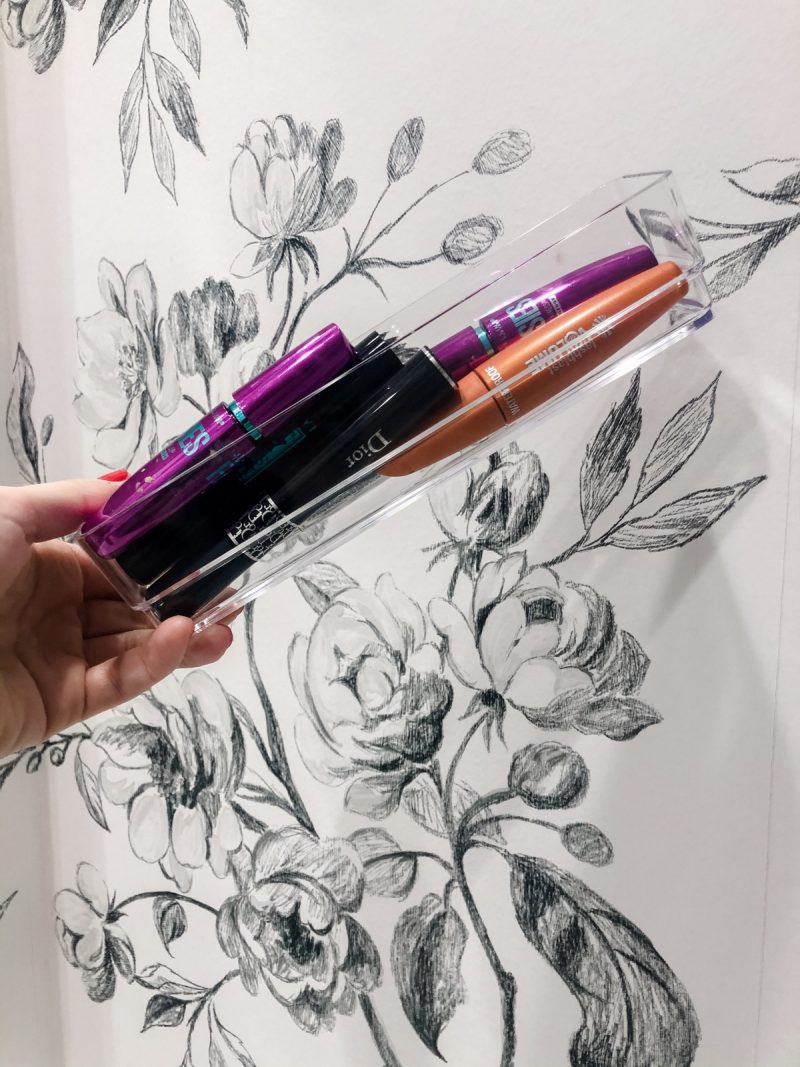
You’ll notice I had a mix of containers and then one large one that was divided into sections. This was quite limiting, so I decided to buy this set on Amazon ($20 for 10 containers) to have more flexibility in how I divided up and arranged my products.
Here are the steps I took to re-organize and re-configure my makeup drawer:
- Removed all items from makeup drawer
- Vacuumed inside of drawer (I use this mini handheld vacuum for smaller jobs like this – obsessed!)
- Reviewed makeup products and set aside anything I don’t use, don’t need or that expired (it happens!)
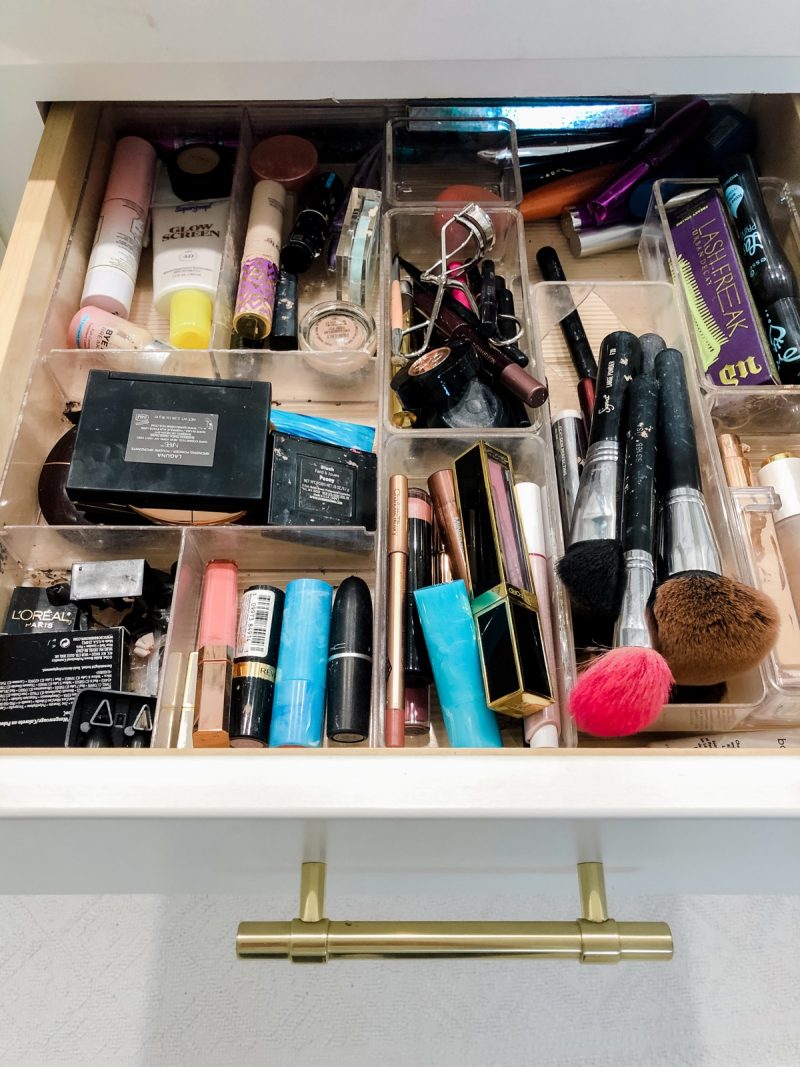
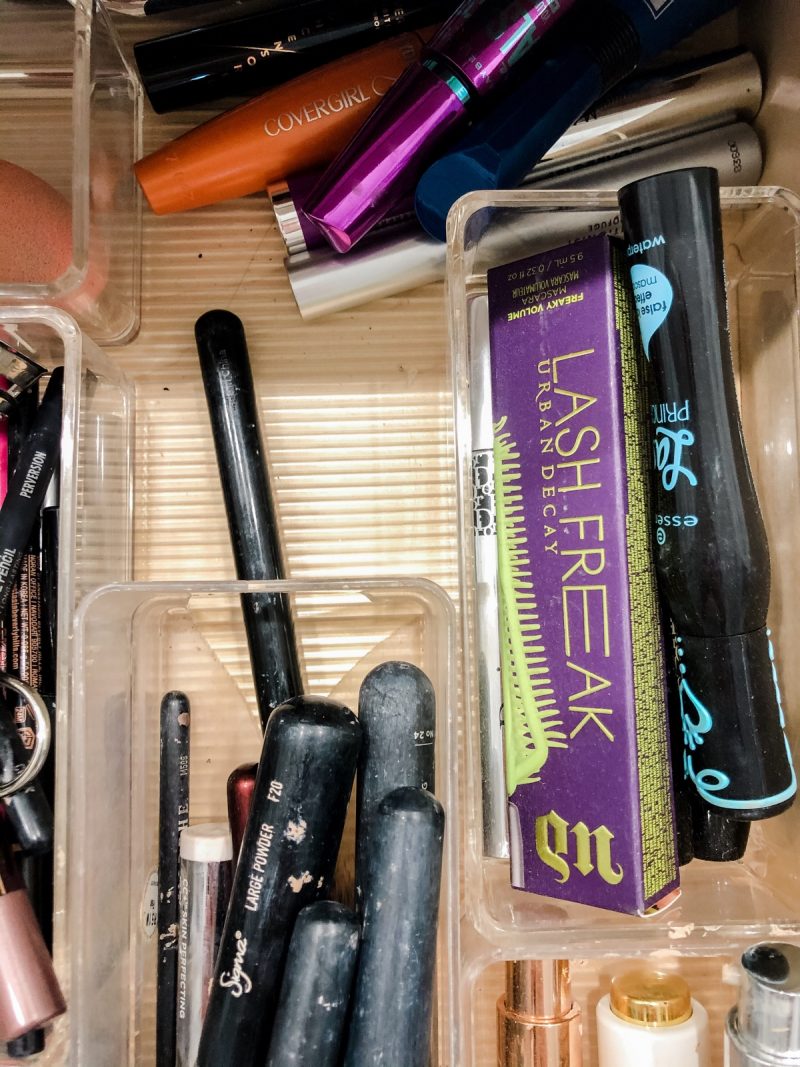
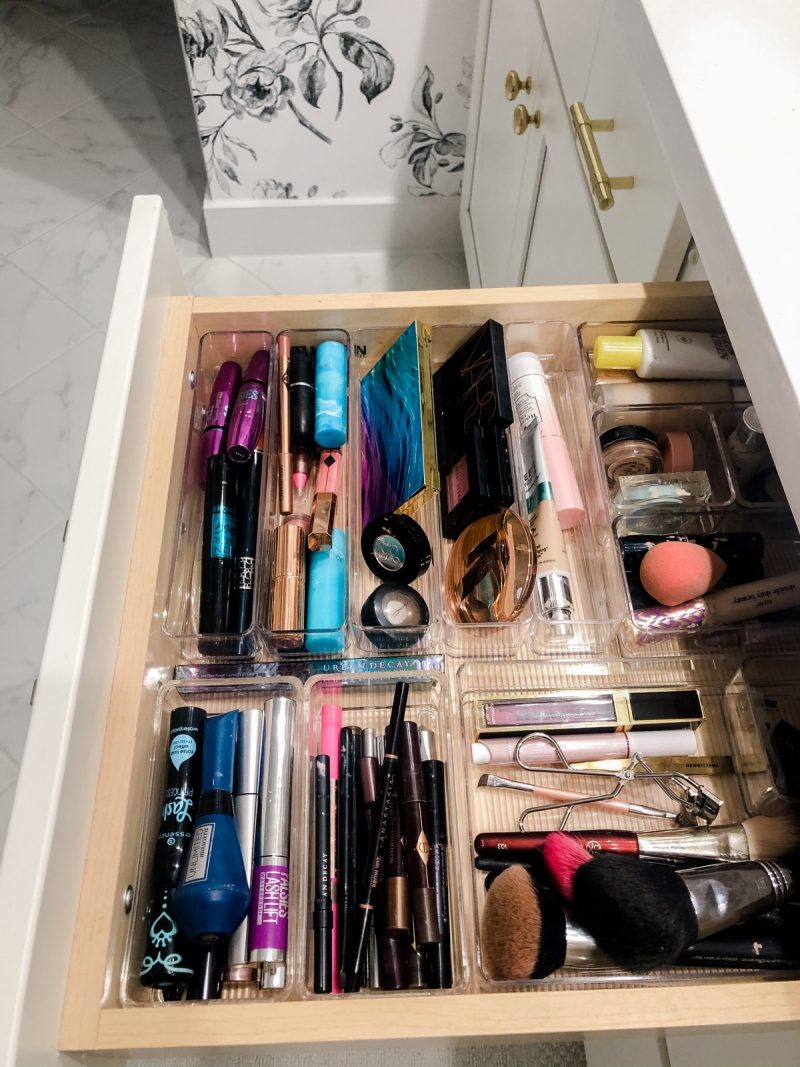
- Placed new organizing containers inside the drawer and played around with them to determine the best configuration – I like to work from left to right and organize my items in a clockwise format, because that feels the most natural to me in terms of the order I apply my makeup. So I keep my SPF, foundation and concealer closest to the top left and arrange the rest of the products in groups from there. So all of my eye pencils and mascaras live together, while one container has my pressed powder, bronzer and blush, etc.
- Place items into containers in groupings that make sense and then re-evaluate when you’re finished. I ended up making a ton of tweaks including switching some of the long and slim containers from a vertical to a horizontal orientation. I also moved products around to different containers until I was pleased with the overall flow. I ended up keeping some of my older containers too, since I had a little extra room to do so.
I highly recommend this storage container set on Amazon because it comes with a variety of sizes that can truly work for most makeup collections (unless you’ve got a YouTube beauty channel – then you’re in a whole other makeup storage ballgame!)
I always like to focus on ways I can make spaces more functional and efficient and this quick, inexpensive project was just one way to further optimize my makeup storage and make my morning routine a little more cohesive.
Happy organizing!

I need to do some organizing and was hopeless on how to begin. You gave me a great idea! Thanks for sharing!
Where did you get the wallpaper in this post? I just love it!!
LA design concepts!