Years ago, I read a blog post about the “magic light trick” for sconces. I vowed I’d try it one day and finally tried it myself with two simple gold sconces flanking our family room TV. I love sconces used in design – from reading lights in a bedroom to sconces in built-ins, over art and more – they add such a beautiful touch to a space.
The cost to hardwire sconces can be pricey if you don’t already have the wiring done (like say, wiring for sconces during a new home build or renovation). You have to hire an electrician and possibly cut into drywall – it’s a project. It’s for this reason that the magic light trick is so wonderful – you can get the look, without the commitment, labor costs and potentially extra sheetrock work. Another bonus is that since sconces aren’t hardwired in, you can take the with you when you move (of course you can negotiate this regardless, but it’s easier when they’re not wired-in).
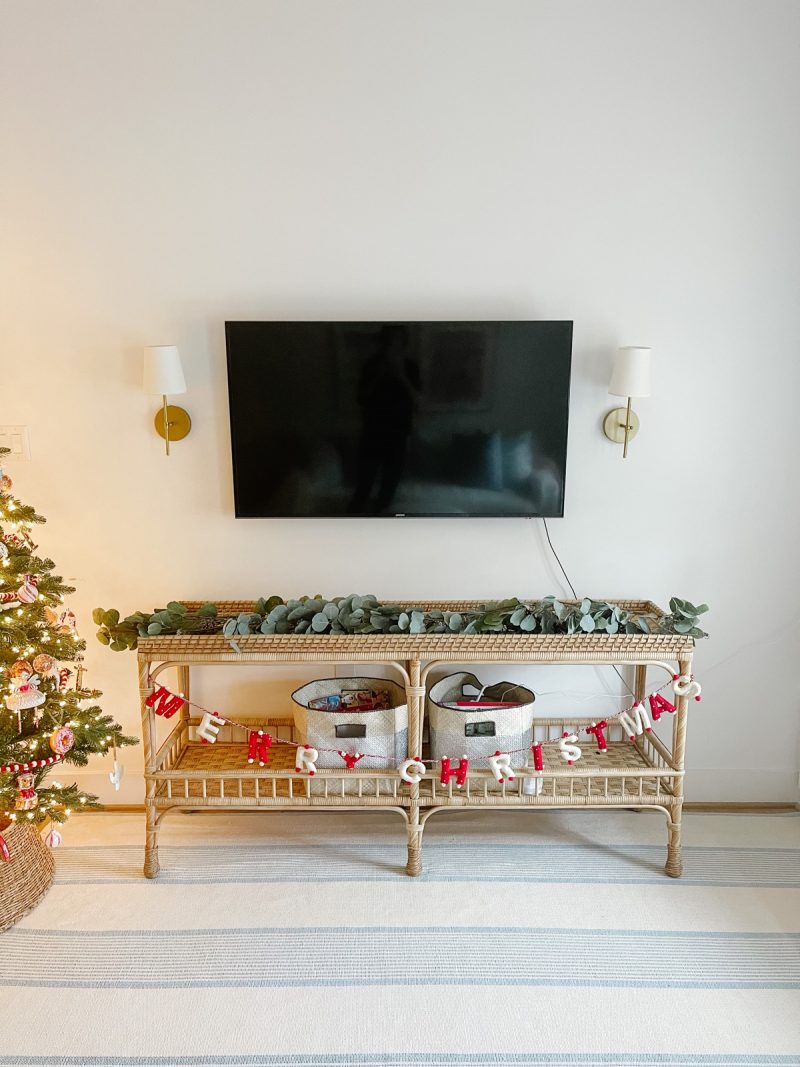
Here are the steps and items you’ll need to light up your non-hardwired sconces:
- Purchase a sconce where this trick can be used – most can, but make sure it’s not a sconce that is meant to have an exposed bulb, like this one.
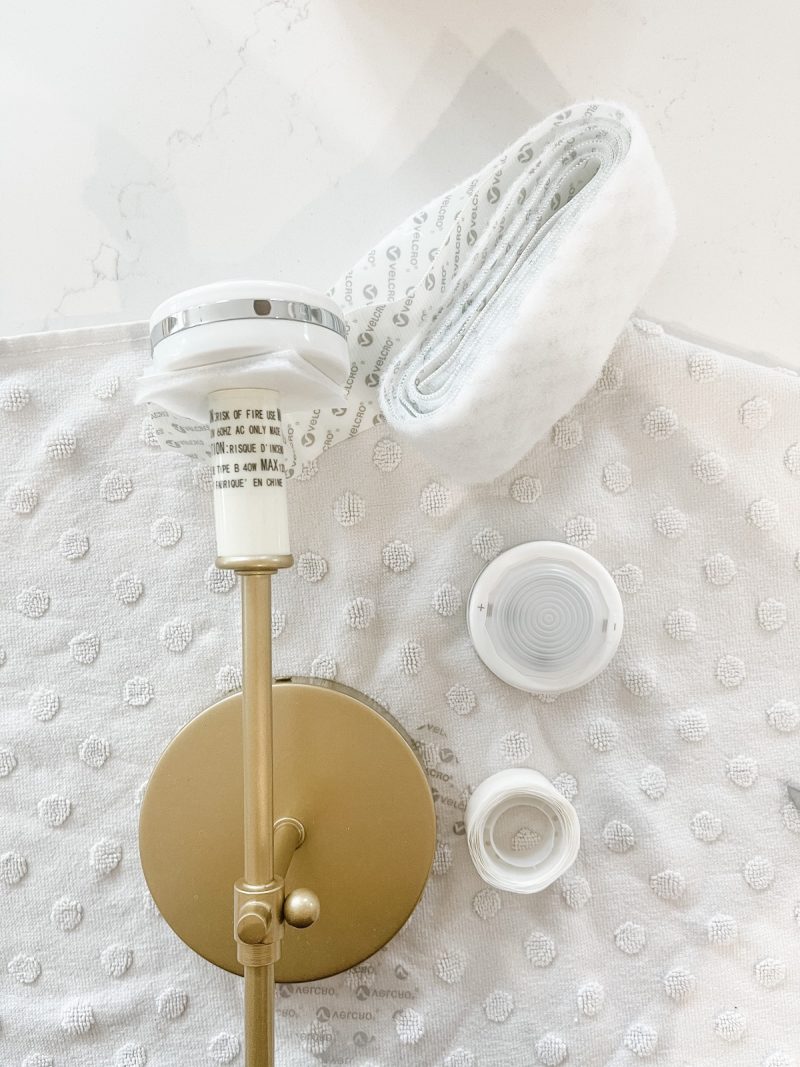
- Next, you’ll want to purchase battery-operated remote control puck lights (I used these) and industrial strength Velcro.
- Then, install your sconces on the wall, as you would if they were hardwired, but without wiring them, obviously.
- Add batteries to your puck lights and click them on and off to ensure they work
- Cut three pieces of Velcro to size (I like this industrial strength Velcro with adhesive) – you’ll want one piece of Velcro for each side of your puck light and one for the bottom.
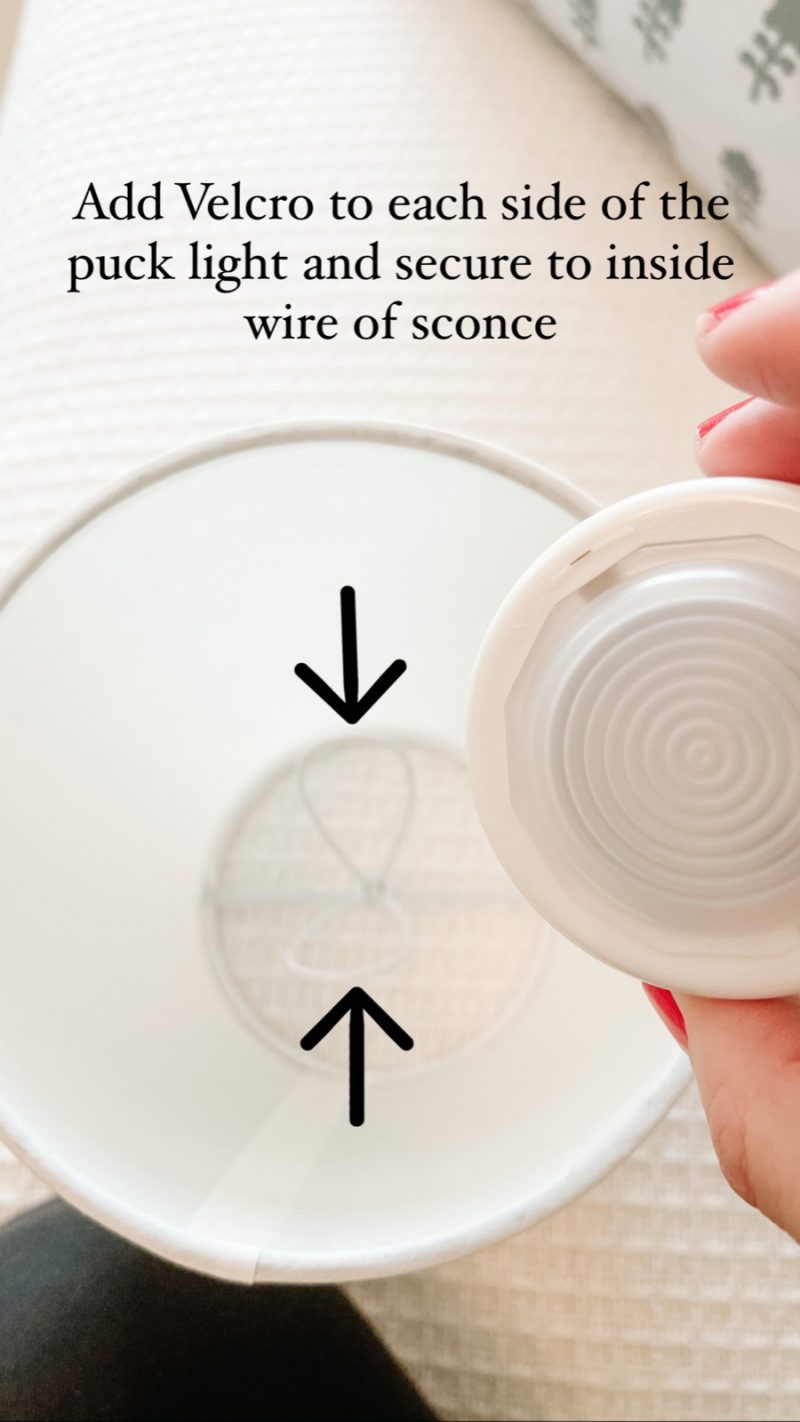
- Apply one piece of the sticky Velcro to each side of the interior metal part of the sconce shade where the bulb would go and then remove the peel to reveal the adhesive part of the Velcro and affix the puck light centered between the metal parts (see images below).
- Then, affix one more piece of Velcro to the bottom of the puck light (peel off the protective sticker covering the adhesive) and affixed the shade over the part of the sconce where the bulb would screw into.
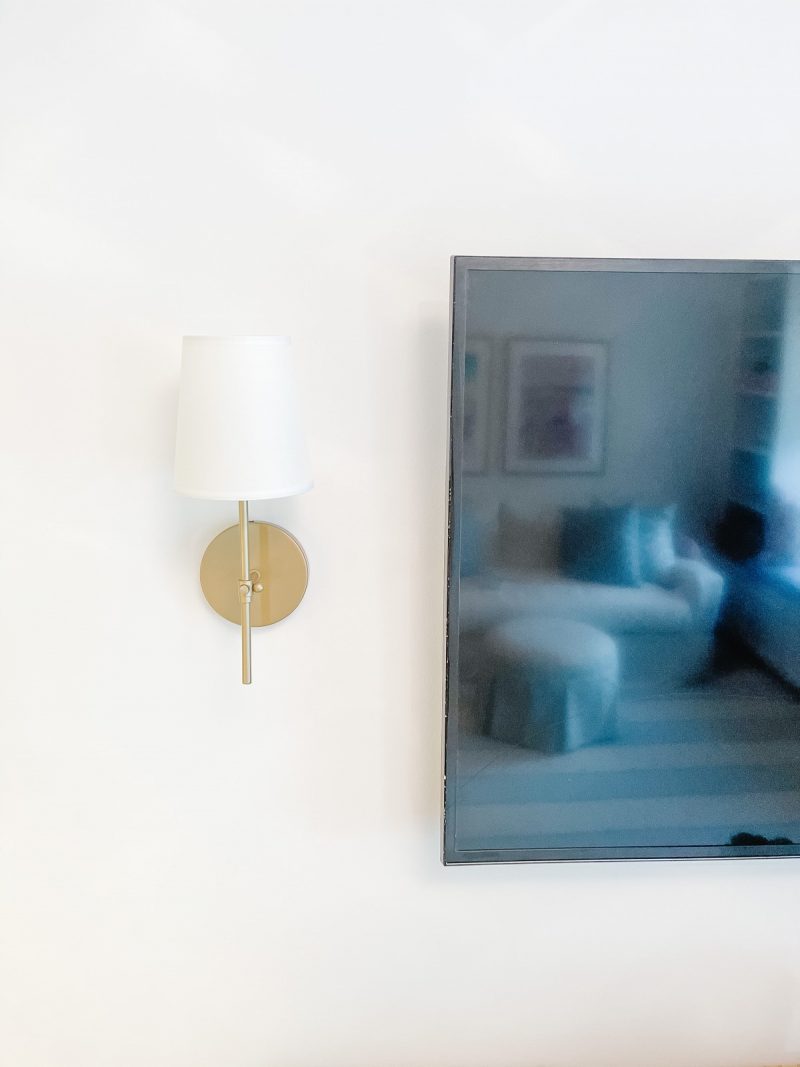
Once you’ve done all these steps, your puck light should turn on with the remote and voila! Puck lights aren’t as bright as a real bulb, but to be honest, we are mostly using these sconces for the aesthetic look of having them there – not really for function. Having said that, it’s nice to have the option to light them and if you’re using them for reading, you can of course install them at a height where the light would be suitable for the task!
One other option is to purchase sconces that can be plugged in! Some don’t like the wires being seen, but I recently installed these Visual Comfort sconces in Harper’s bedroom as reading lights and they have a beautiful brass bar that covers the wiring. I absolutely adore them! I got them via Twenty Two Fifty Interiors here in Houston.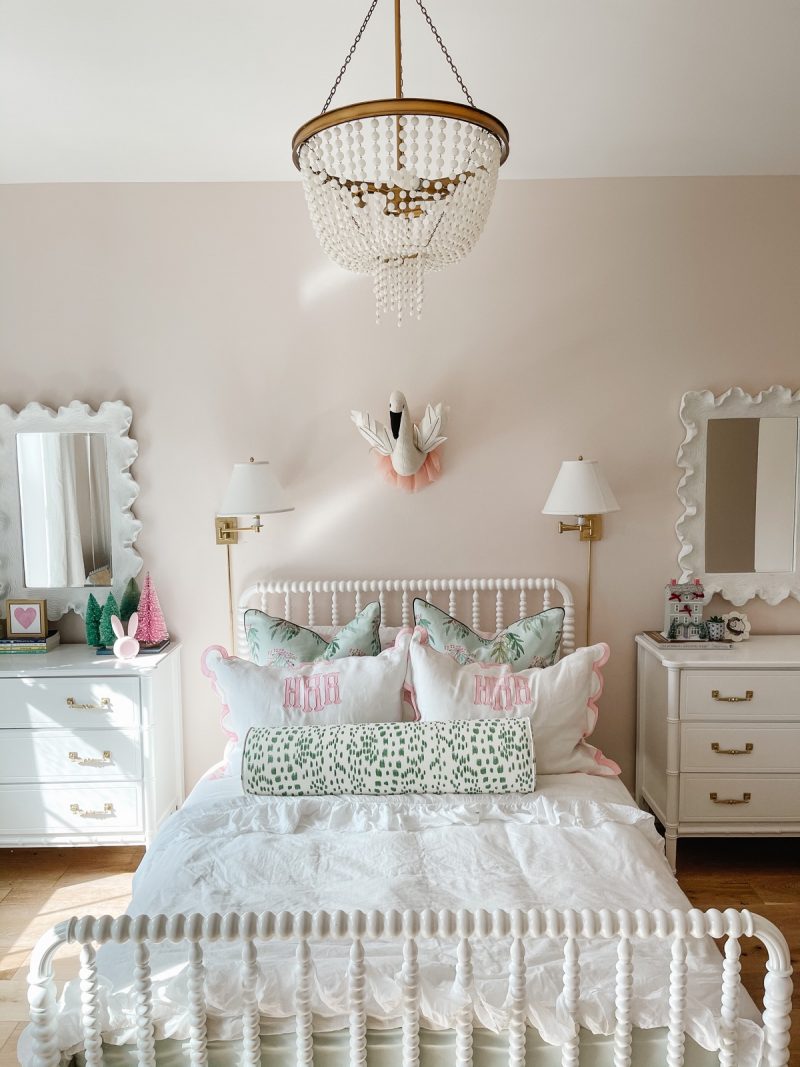
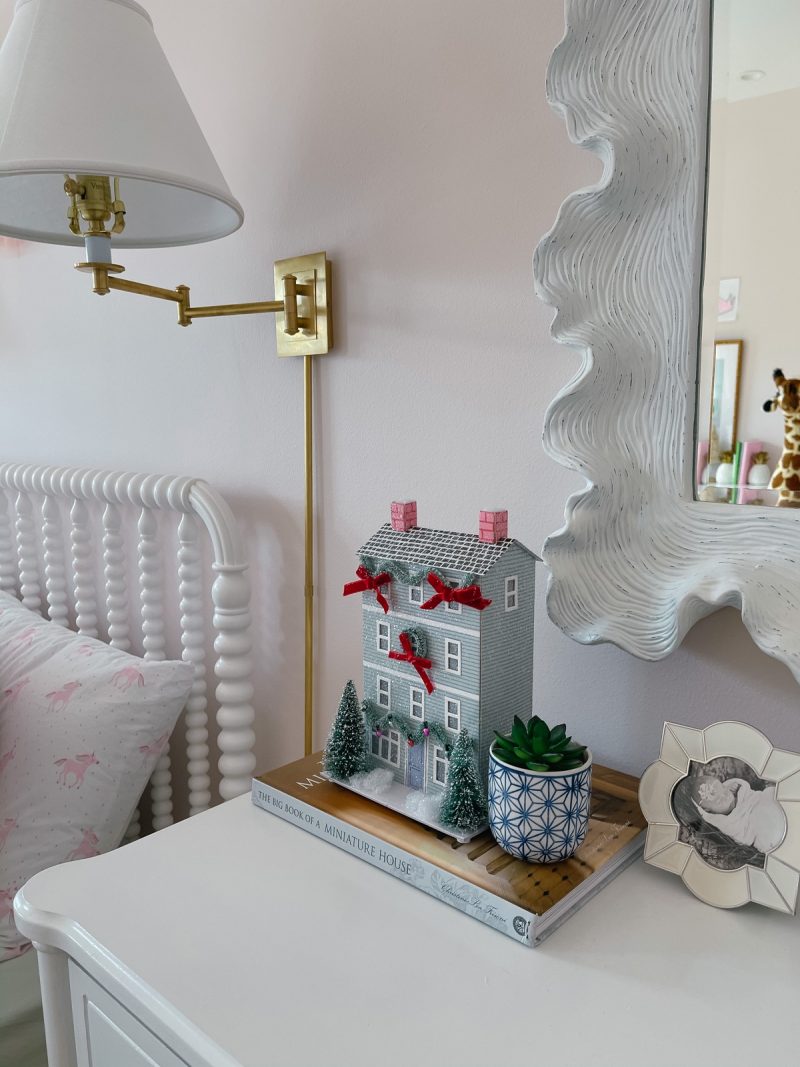
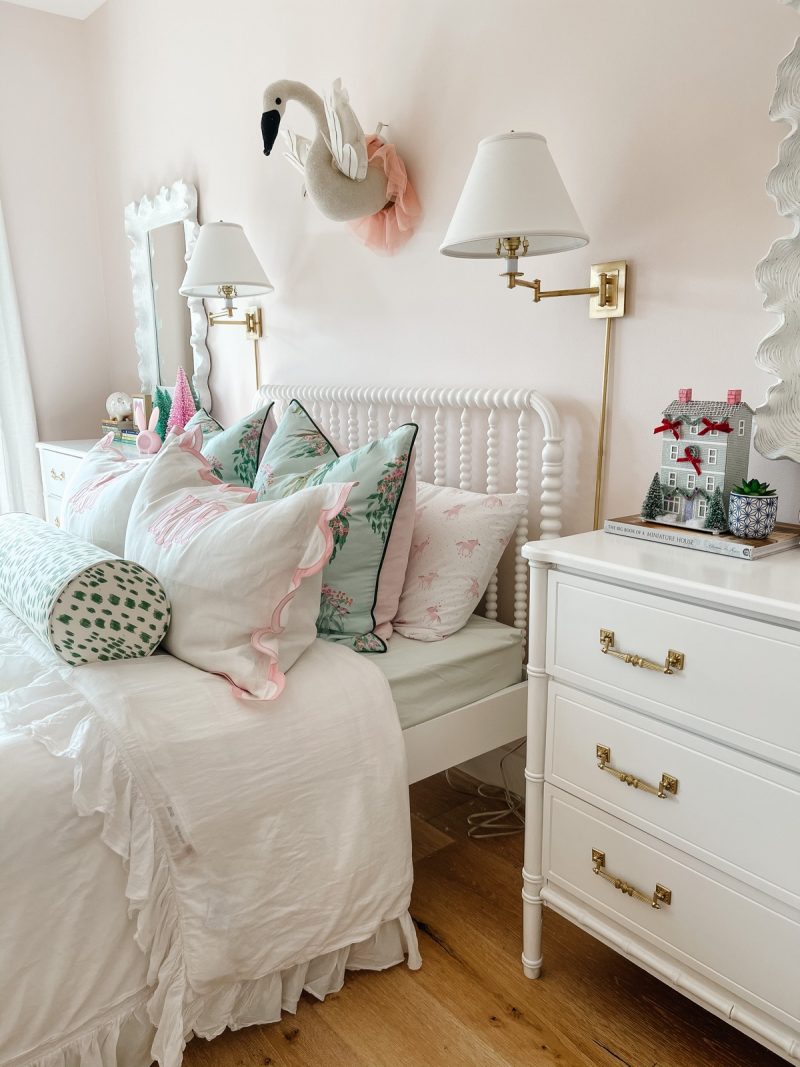
Here are some more plug-in sconce options, if you’d like to go that route!
I hope this post encourages you to add another layer of lighting to areas of your home!


What do you do with the wire that comes with the sconces?
It just gets tucked behind the sconce backing
What are the brightest lights you’ve found, al the ones I’ve tried barely look like anything is on…